A Million Little Pieces
I've Been Framed
Guts and Glory
Pins and Needle Files
My Luggy Day
Searious Issues
Sliding Into Position
All Together Now
Spacing Out
Wear to Go from Here
Barreling Ahead
Breech of the Piece
Starting Out with a Bang
Round Two (hundred)
The Kart of Barrel Fitting
Fed Up
Safety is a Snap
Dispatches from the Front
Pulling Through
The Final Part
Lessons Learned
Frequently Asked Questions
Errata and Clarifications
More articles
Guts and Glory
As mentioned earlier, Sarco's parts kit reached me without a piece. As I discovered while trying to put together the frame's internals, this piece was the hammer strut pin. On reflection, it's entirely likely the pin had arrived with the other parts but was now either embedded in carpet fiber, mouldering inside a vacuum cleaner bag, or passing through the digestive system of a cat.
Another issue I had was with the barrel's link pin. Unlike the vanished hammer spur pin, I actually still had this particular pin in my possession. Unfortunately, this did me little good because the pin wouldn't even start into the barrel lugs. I understand some effort is required to fit the link pin, but either the pin was oversized or the hole in the barrel's lower lugs was too small. Before widening the lug hole, I felt it would behoove me to try to find a smaller link pin.
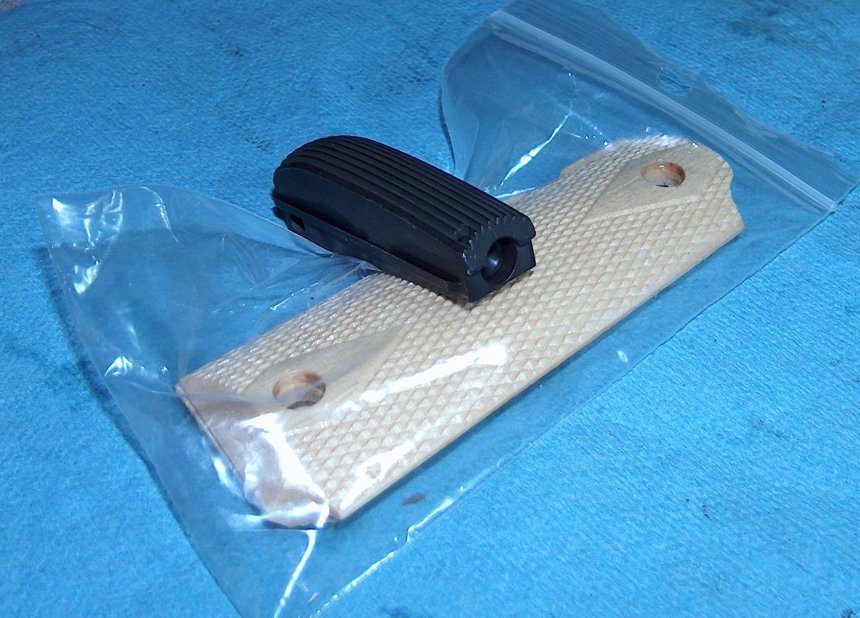
Fortunately, a gun show happened to be in town, so I stopped by. One of the tables featured trays of 1911 parts, so I picked out a few of the hammer strut pins that looked like they'd seen the least staking in their lives. I also picked up some link pins in various diameters. Finally, I also acquired a set of 1911 grips in mountain ash, which turned out to look less than attractive against the blued frame, which is why you won't be seeing any pictures of them attached to the gun.
The first thing I did was to assemble the mainspring housing. This
turned out to be about as easy as putting a baby back into the womb
from which it has issued under enormous spring pressure. There are
three schools of thought on how best to keep the mainspring compressed
while fitting the retaining pin into the housing:
- Hammer a nail with a head of the appropriate diameter into something stationary (e.g. not a cow), then just hold the mainspring housing in one hand, use the head of the nail to compress the spring, and insert the retaining pin with your free hand. This method is simple and foolproof, so naturally it did not occur to me and I was forced to fall back on the other methods:
- Be a man and hold a punch between your index finger and thumb while bracing the bottom of the mainspring housing against your little finger. The only drawback here is that if your mainspring housing sports a lanyard loop and you enjoy keeping your little finger in its original shape, you may be forced to go with the final option...
- Be slightly less of a man and hold the housing in one hand, compressing the spring with a punch held in the other hand, while your wife drops the retaining pin into place. The only danger here is that you may be exposed to mild sarcasm.
Mild sarcasm not shown.
With the mainspring housing assembled, I moved on to attaching the hammer strut to the hammer. I double-checked to make sure that I was attaching it correctly, but I needn't have bothered; the pin just slid in with a light friction fit and could easily be pushed out with a punch. It looked like the pin had been staked at some point in its life, which would probably have to happen again, as a loose hammer strut pin can drag against the frame or even cause hammer bind. For the time being, though, it would suffice.
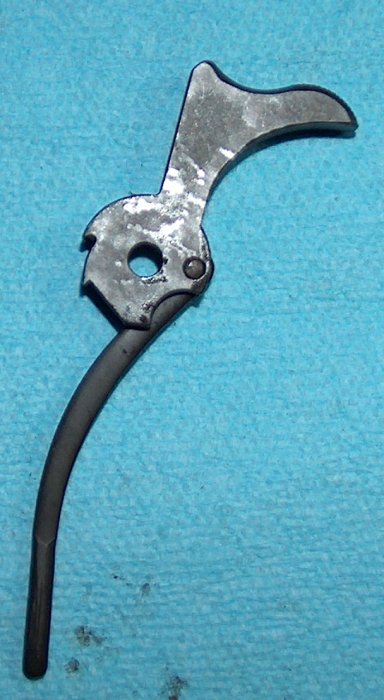
The hammer struts its stuff.
With the hammer set up, it was time to cram everything into the frame. The trigger goes in first and is held in place by the magazine release, which is an amazingly clever piece of engineering. The sear and disconnecter follow; these are really finicky to put in place, but it gets easier after you do it a couple hundred times. Add the sear spring on top, then hold the grip safety in place with the shaft of the thumb safety so that the slight rim on the bottom of the grip safety fits under the mainspring housing. Consequently, if you put the mainspring housing in first, the grip safety won't fit. Don't ask how long it took me to figure that one out. With the mainspring housing and grip safety held in place with one hand, the hammer can be gently pushed into place with the other hand, and the hammer pin dropped in with the third hand. Execution of this process with fewer than three hands is left as an exercise for the student.
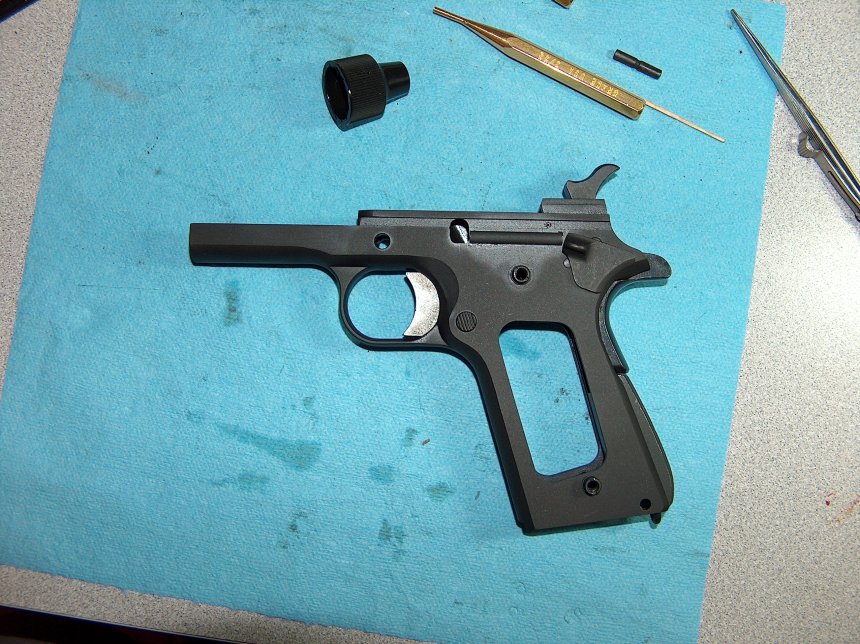
Assemble frame. Repeat five million times.
You may have noticed that in the photo above, the mainspring housing pin is not inserted. I had some trouble getting it in. Okay, I had a lot of trouble. My reading had indicated that this could be pressed in, but a great deal of pressing merely left my thumb looking as though it had been attacked by a small but determined octopus. Some sort of block was required to get that dang pin in, but for now the metal handle of a needle file sufficed to hold the mainspring housing in place while performing function tests.
As mentioned earlier, I was still waiting on a slide, so function tests had to be performed carefully. Dropping the hammer without a slide in place to catch it can peen the frame, so I'd have to keep a good grip on the hammer while testing the safety mechanisms. Despite this constraint, things went well. The trigger tripped the sear, but only if the disconnecter was up. Depressing the grip safety allowed trigger travel, and not depressing it blocked the trigger bow. The manual safety...didn't work. The channel between the wide plate of the safety that is visible on the exterior of the gun and the lug that blocks the sear was cut too shallow, which prevented the entire safety from sliding up. A few minutes with a file fixed that particular problem and I was able to confirm that the thumb safety blocked the sear.
All in all, a very productive evening.
email: hidi.projects at gmail.com