A Million Little Pieces
I've Been Framed
Guts and Glory
Pins and Needle Files
My Luggy Day
Searious Issues
Sliding Into Position
All Together Now
Spacing Out
Wear to Go from Here
Barreling Ahead
Breech of the Piece
Starting Out with a Bang
Round Two (hundred)
The Kart of Barrel Fitting
Fed Up
Safety is a Snap
Dispatches from the Front
Pulling Through
The Final Part
Lessons Learned
Frequently Asked Questions
Errata and Clarifications
More articles
Safety is a Snap
Interspersed with the various gratuitous acts of firearm modification performed in pursuit of feed and extraction reliability was some work on the safety features. If this gun could be rendered reliabile, I intended to carry it, and carrying a firearm is much more pleasant when it's not inadvertently putting holes in its owner and/or the surrounding scenery.
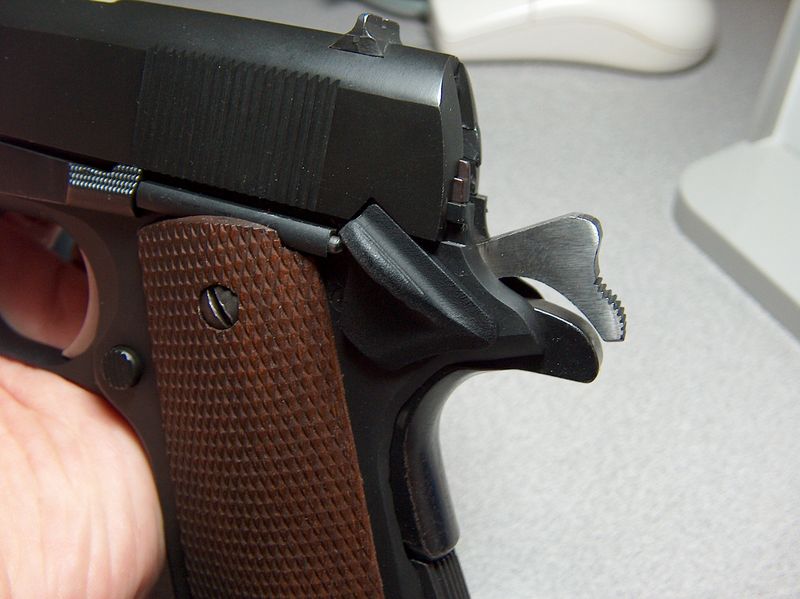
The most important safety feature is a properly-functioning firing system, but that issue is dealt with later. This section is more concerned with the manual safety and the firing pin. The grip safety, though slightly rattly, functioned just fine so I didn't mess with it.
The manual safety (a.k.a. the thumb safety or safety lock, depending on whose nomenclature you're using) was a different story. It was very light, flicking on and off with almost no effort. This was even with the tiny pre-A1 safety tab, which requires all force used on the safety to be focused on a small area. Under advisement from 1911Tuner, I replaced the plungers and connecting spring with a Colt plunger assembly.
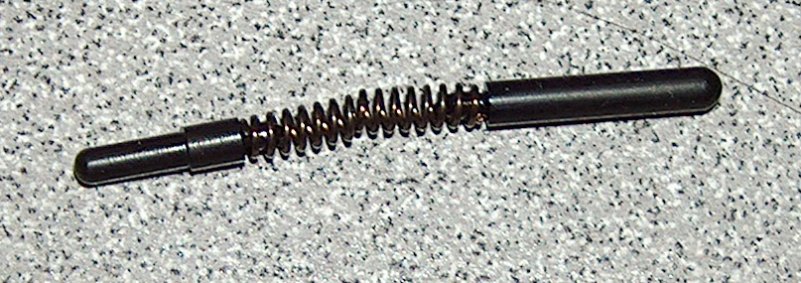
Taking the plunge.
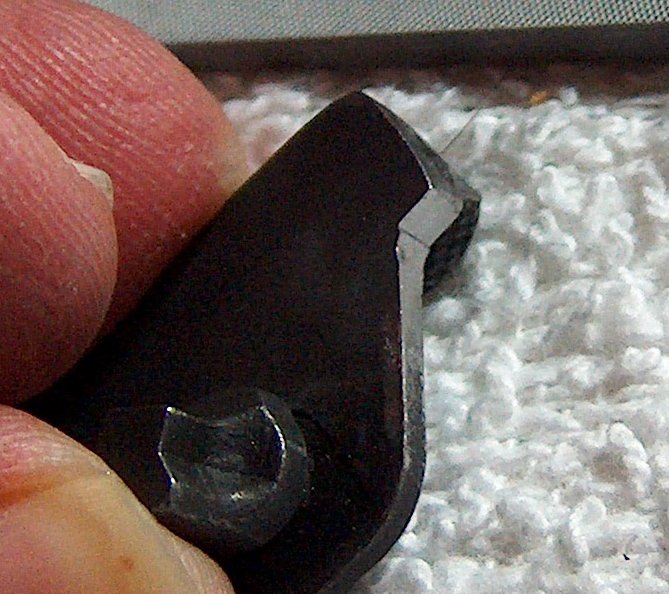
Installation of the Colt parts produced a noticeable improvement; the spring I had been using must have been seriously fatigued. However, the safety still didn't have the positive "snap" I was looking for. Given that the problem persisted with known-good plunger parts, that left something in the catch itself as the source of the light engagement. I took a closer look, as did the denizens of the M1911.org gunsmithing forum, where I posted the following image:
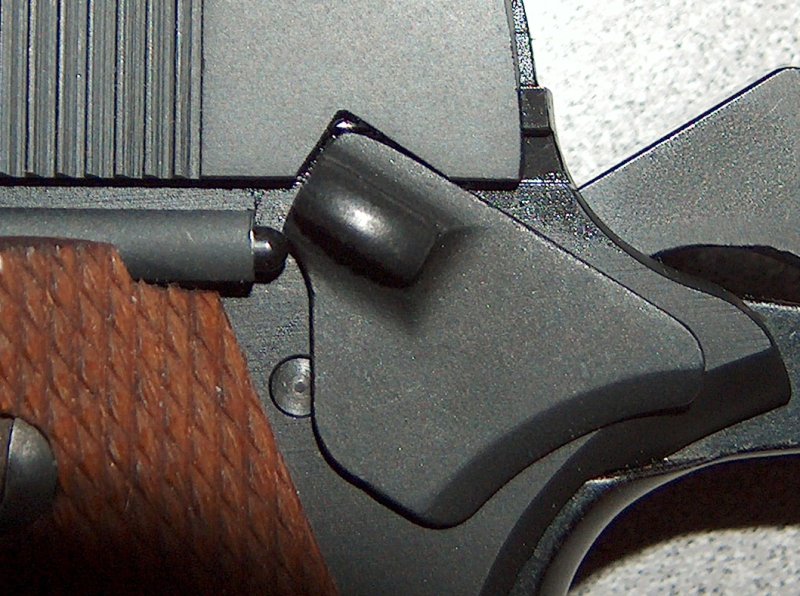
What's wrong with this picture?
There were several theories advanced as to what was going wrong with the safety. A few people keyed on the incomplete alignment with the safety lock cutout in the slide, theorizing that the catch couldn't rise high enough to let the plunger all the way out. Unfortunately, the safety wouldn't travel any higher with the slide removed, so that idea had to be scuppered.
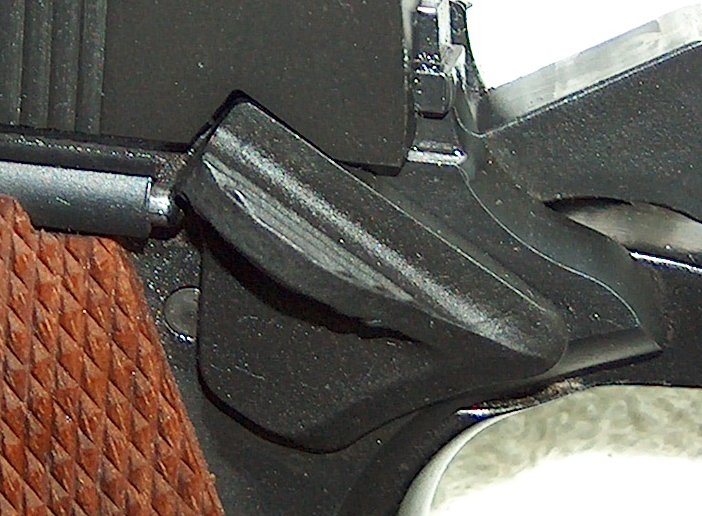
It finally occurred to me to compare the safety on the project gun with the one on my Springfield Armory Mil-Spec. The Mil-Spec safety took a great deal of effort to snap off, so perhaps a look at the differences between the two would shed some light on the issue.
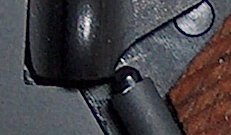
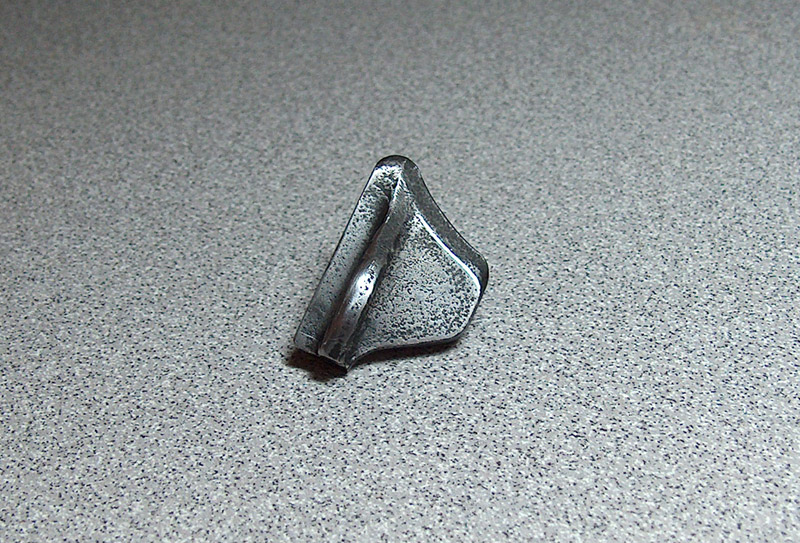
Everyone has an angle.
Seen this way, the source of the problem was pretty clear: The shape of the safety wasn't letting the plunger out far enough, so the safety gained a high amount of mechanical advantage over the curved end of the plunger. (Another factor in the Mil-Spec's stiff safety was the fact that the plunger tube hadn't been reamed out far enough, so the spring pressure was pretty intense.)
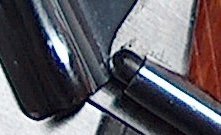
I decided to alter the geometry of my safety to let the plunger come out a bit farther. Unfortunately, altering the geometry of a curved surface in a controlled and aesthetically-appealing manner turned out to be beyond my level of skill.
Yet another example of masterful metalworking.
As you can see, I ended up putting a metal shelf in the safety. While this worked great for letting the plunger out, it also increased the aforementioned mechanical advantage to the point that it was completely impossible to thumb off the safety. Technically speaking, this constituted success, as I'd increased the stiffness of the safety; realistically speaking, I ordered a replacement part.
By way of a brief aside, it's really difficult to find normal thumb safeties for the 1911. If I'd been in the mood for an extended tactical high-ride ambidextrous safety catch with aircraft-carrier-style rectangular pads large enough to land an F-18, it would have been a simple matter to locate one. Instead, I spent quite a bit of time tracking down a latch by a no-name manufacturer. My patience was rewarded by the delivery of an A1-style thumb safety, which dropped right into the frame and functioned perfectly.
Let me repeat that, just in case you glossed over it: The thumb safety dropped right in without any fitting. Once in place, it worked from the start. It prevented sear motion, required positive force to snap off, and fit the pin hole perfectly. Total time for installation was approximately two seconds. Such simple and painless addition of a part to the gun was so completely unprecedented that I am forced to conclude that it was a statistical anomaly and therefore never happened.
Just a trick of the numbers.
Okay, so there was one snag: a snag of metal that stuck up near the outside edge of the safety where the ridging was simply cut short without any rounding. It was located in the perfect position to dig painfully into one's thumb when swiping off the safety. Sufficient safety swiping served to inflict a fairly nasty blister, proving once more that guns hurt people, even when used safely.
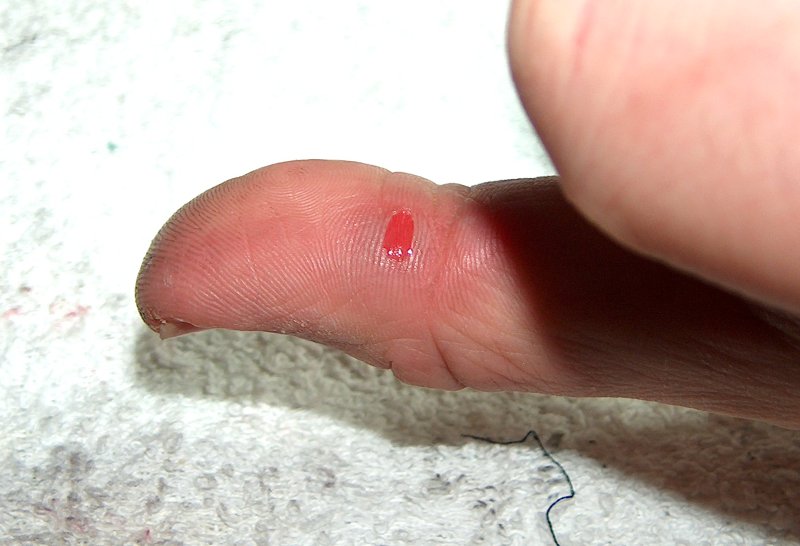
Still slightly less painful that not using the safety.
Fortunately, help was at hand in the form of a #2 Swiss Cut pillar file. Filing down a sharp burr is more my speed, anyway. I took off the sharp edges at the front and rear, both top and botthem, then put a comfortable radius on the top. Problem solved. So this was what it felt like to successfully improve a safety by using a file.
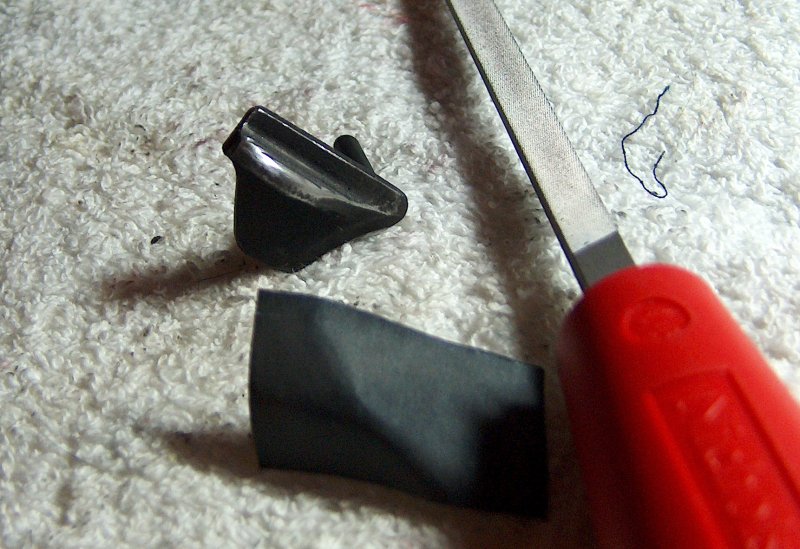
A kinder, gentler safety.
There was, of course, the remaining issue of exposed metal, but that would be the work of a few moments with the trusty bottle of cold-blue solution. After cleaning and degreasing the part, I swabbeded on some cold blue...and absolutely nothing happened. Curious, I repeated. No effect. Thus ensued an increasingly frenetic frenzy of degreasing and reapplication of bluing, all to no end. I honestly felt like I was losing my mind until it occurred to me that the part was probably made of stainless steel or some corrosion-resistant MIM material with a spray-on coating.
Fine. Two can play that game.
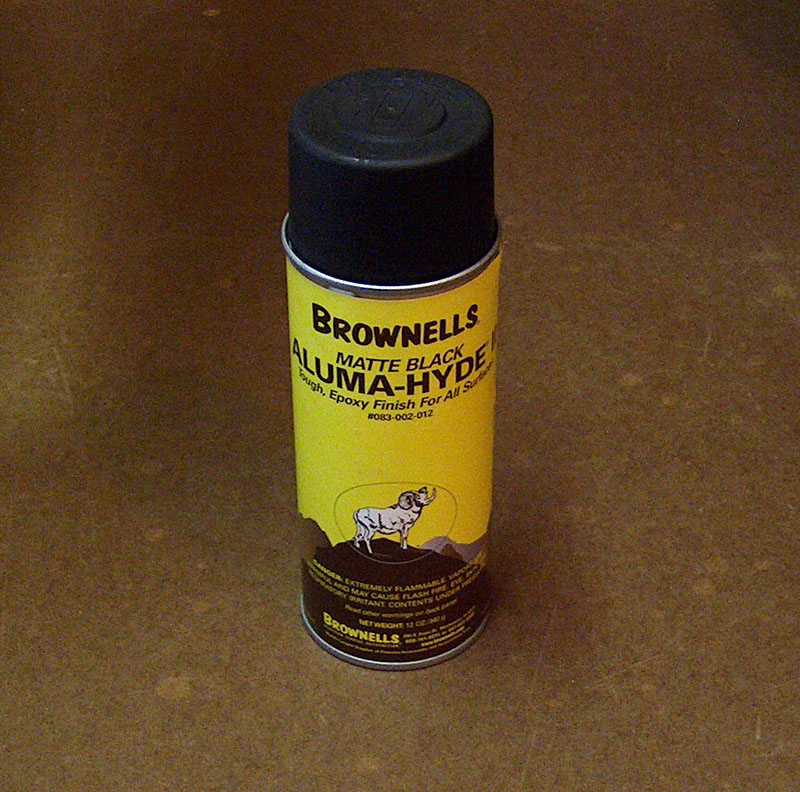
You can run, but you can't hyde.
I acquired a can of Brownell's Aluma-Hyde to refinish the safety. As its name suggests, it's designed mainly for refinishing aluminum parts, but claims equal efficacy on steel, plastic, or wood. What appealed to me was the fact that Aluma-Hyde is not a bake-on finish, but simply requires a couple days to cure. Also, it claims to adhere well with minimal surface prep; as someone who does not yet own sand- or bead-blasting equipment, this is naturally a plus. I did, however, sand off some of the coating and even out the surface with steel wool to minimize any layering from the spray.
It's always the darkest just before dawn.
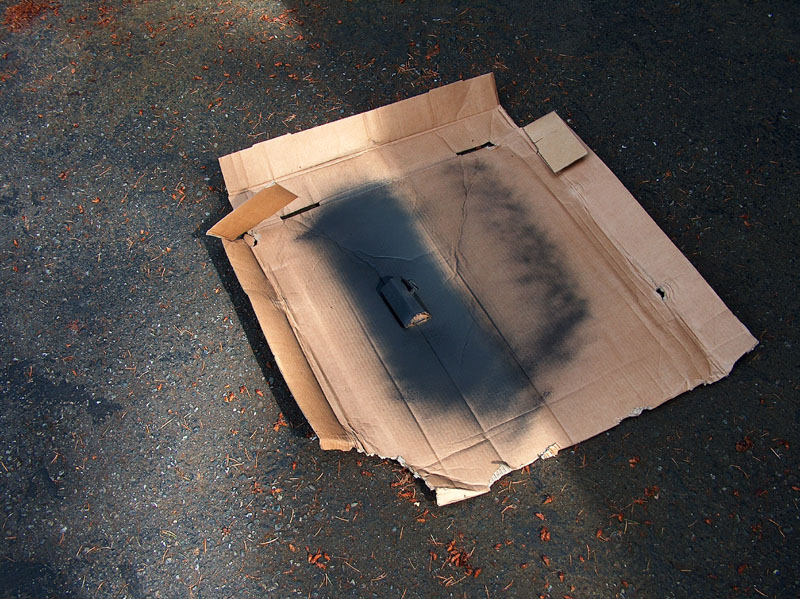
Per the instructions on the can, the coating cures fastest at between 70 and 90 degrees Fahrenheit. Fortunately, I happened to have a nice warm Saturday free. Degreasing the safety took a couple quick blasts of Gun Scrubber; I let it dry while I assembled a support for the safety out of a scrap of cardboard. It figures: The first time I actually want a piece of styrofoam, there's none to be found lying around in large, inconvenient hunks that take up all the space in the garbage cans. The safety is supported by its pin; if I cared about uniform coloring of the part, I'd have to do the painting in two installments, one for each side. Fortunately, I don't care.
Precision firearms finishing.
I sprayed on the Aluma-Hyde and let it sit for the thirty minutes recommended before handling. Thirty minutes is also the cutoff point for recoating before the manufacturer recommends letting the finish cure for several days. I should have taken a closer look before that point, as it turned out that I missed a couple spots.

Not quite finished.
This necessitated waiting a couple days and repeating the process. This time, though, things turned out much better.
No longer as paintfully ugly.
Another concession to safety I made was replacement of the firing pin. The standard 1911 firing pin is quite safe, provided it's paired with a sufficiently strong firing pin spring; if not, the inertia of the firing pin can carry it forward when the slide slams into battery at the end of the recoil cycle. A moderately weak spring, like the one that came with my parts kit, can let the firing pin far enough forward to leave marks on the primer. These are disconcerting, but far preferable to the results of a spring so weak that the firing pin is carried forward during chambering with enough force to ignite the next round. The best possible outcome in this situation is a brief but terrifying full-auto experience; however, the firing pin's inertia doesn't care whether or not the gun is in battery, so the worst-case scenario involves an explosion.
These are compelling reasons to replace one's firing pin spring regularly. If you use Wolff gun springs, you're set: Wolff includes an extra-strength firing pin spring with their recoil springs, making it convenient to change both at once. I went one further, though, and bought a titanium firing pin.
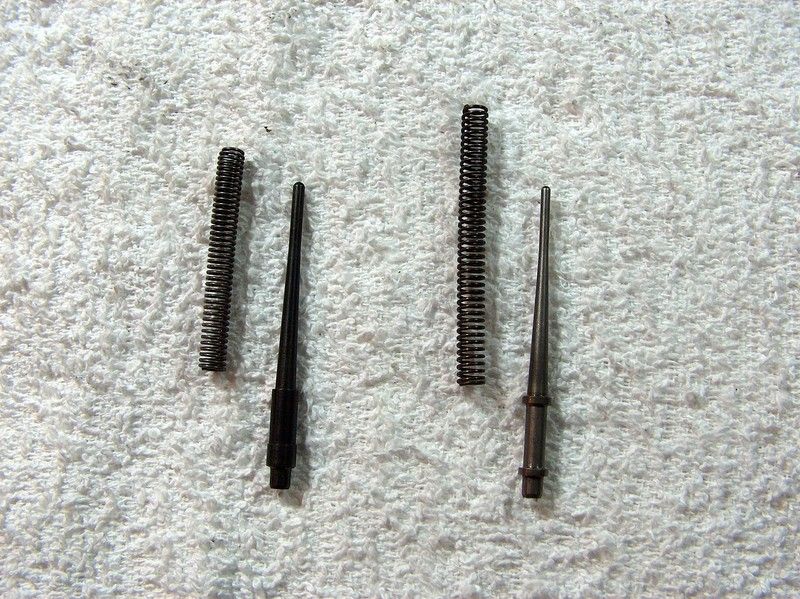
Pinning my hopes on the lightweight.
The pin I bought is the same one used by Springfield Armory in their 1911s in order to get around California's asinine "drop safety test". It comes with an even stronger firing pin spring than Wolff's; the combination of the light pin and very strong spring forces SA to use a much heavier-than-normal mainspring (I've heard 28 pounds) in order to drive the hammer hard enough to prevent light primer strikes. A standard 23-pound mainspring isn't enough to get reliable ignition with both the titanium pin and heavy spring. I switched to a Wolff firing pin spring; at first, it seemed to have the seem light strikes as the SA spring, but once the spring took a set it became perfectly reliable.
Some may question the necessity of using an exotic metal for the firing pin, and it's a reasonable question. I've read tests wherein the tester used a primed, empty case and an old slide assembly to try to ignite the primer from dropping the slide on its muzzle, only to be unsuccessful for any drop less than twenty feet. Running such tests myself might assuage any worries, but I lack a slide and barrel I'm willing to abuse in such a manner. While I wouldn't go so far as to use a 1911 with a firing pin block, a titanium firing pin is an acceptably unintrusive way of increasing the safety margin.
Besides, it's one of the few parts that didn't need fitting.
email: hidi.projects at gmail.com