Field Strip
Slide Detail Strip
Frame Detail Strip
Reassembly
More articles
Detail Strip Frame
When working on the frame, even to clean it, it's usually a good idea to engage the safety. The hammer can be dropped with the slide removed, and when that happens it's bad for the frame.

Remove the grips. I'm not showing that being done because you should probably be able to figure that one out for yourselves.

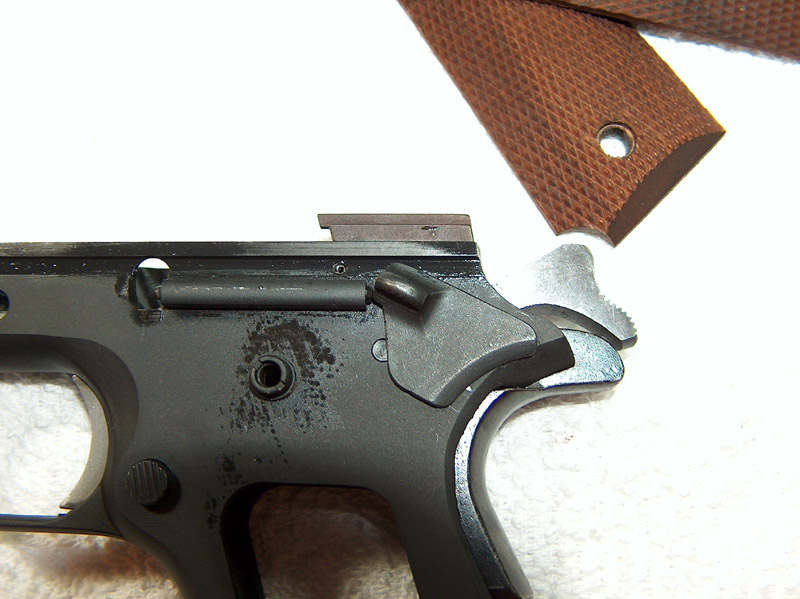
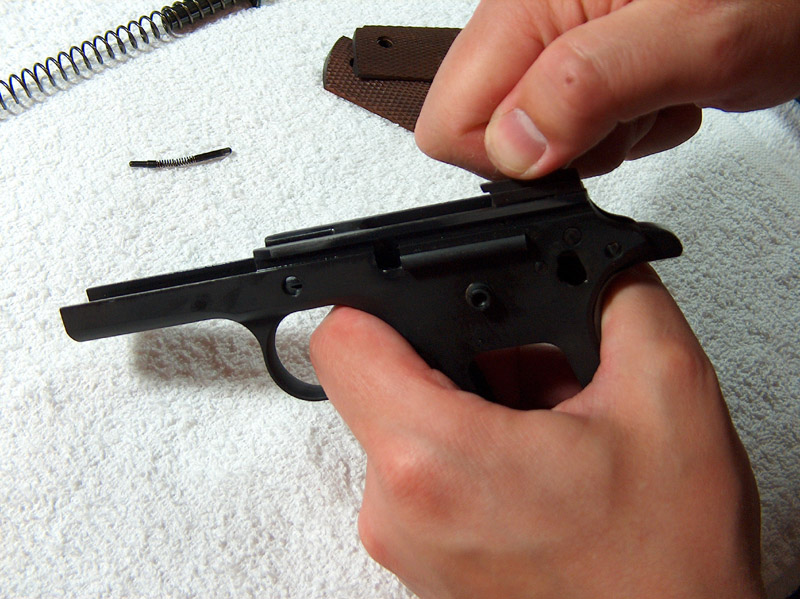
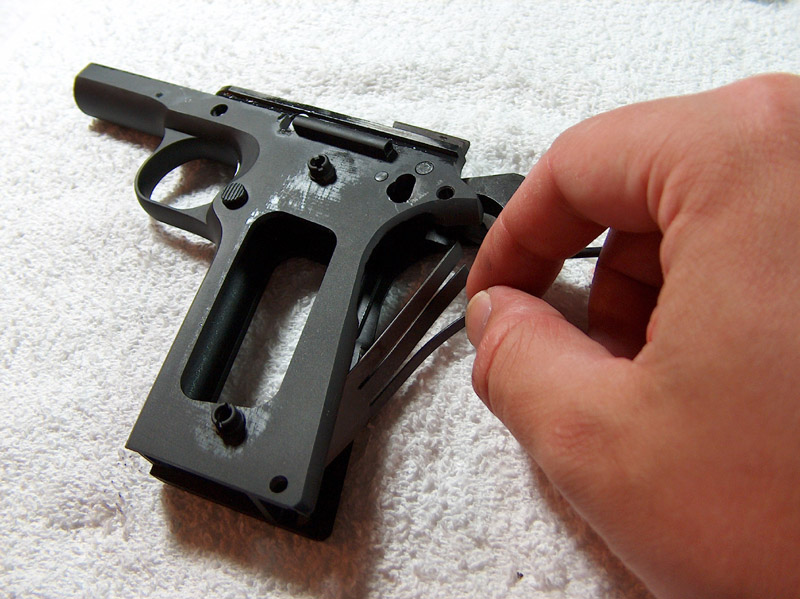
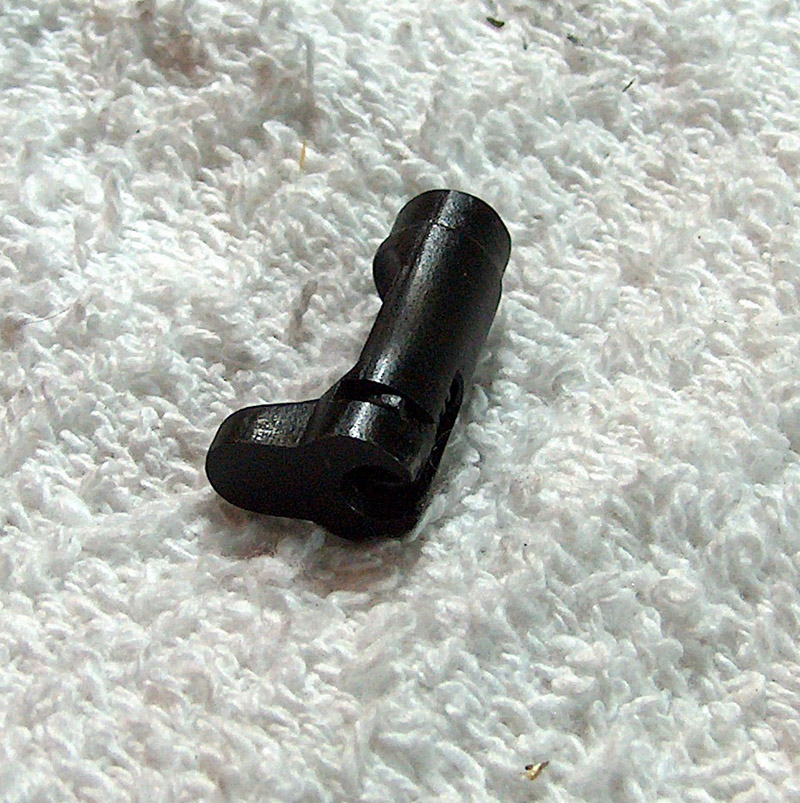
Snap the safety roughly halfway off, right to the point between on and off where it really doesn't want to stay put.
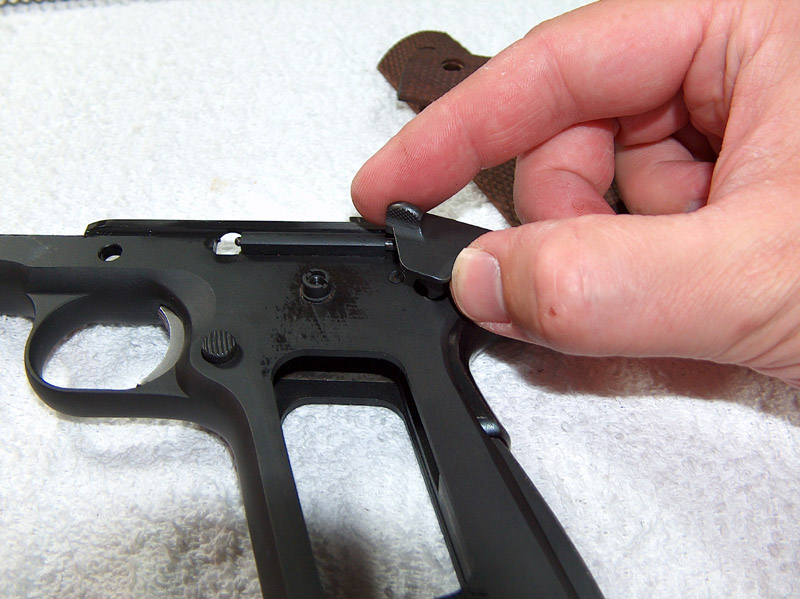
Lift the safety straight up, wiggling it slightly as you do. I'm holding it by the sides for clarity in this picture, but the only way to really do this is by gripping the tab on the safety itself. With the thumb safety removed, the grip safety will now be loose, but it won't fall out.
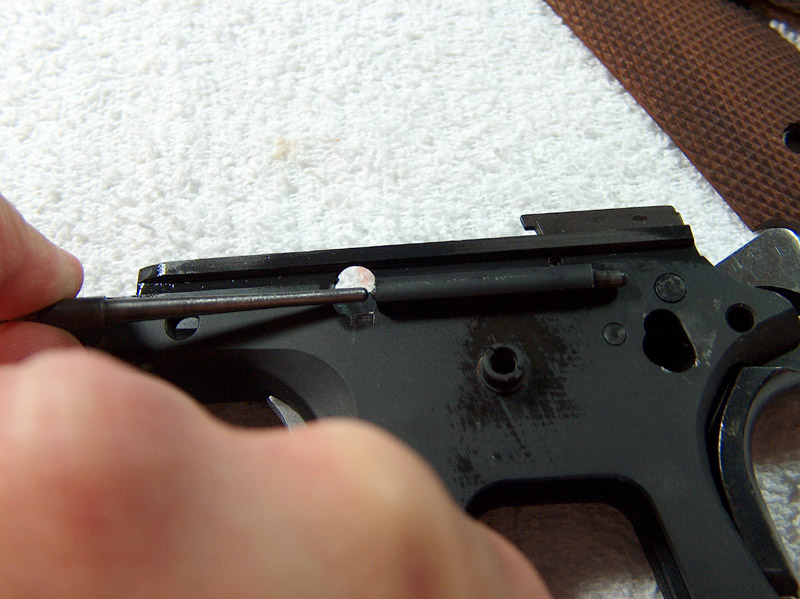
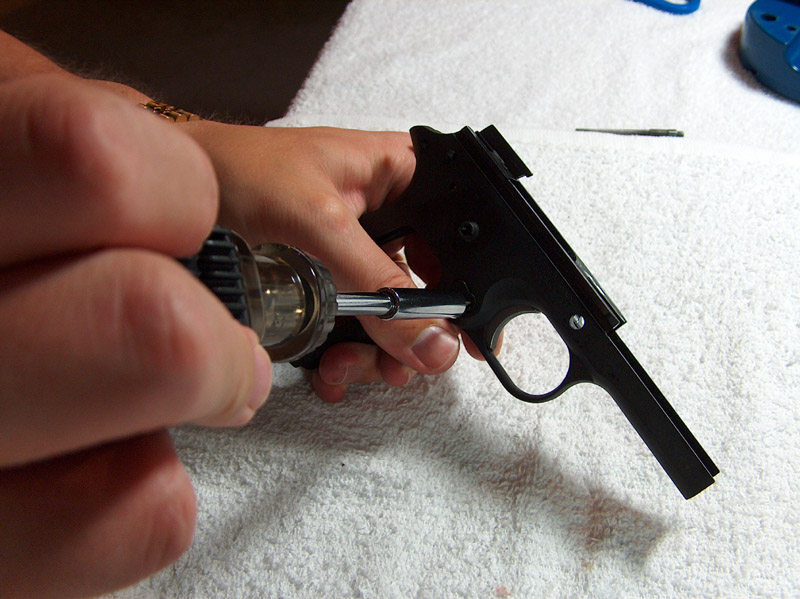
Using your punch or firing pin, start the plunger assembly out of the plunger tube by pushing the slide stop plunger in.
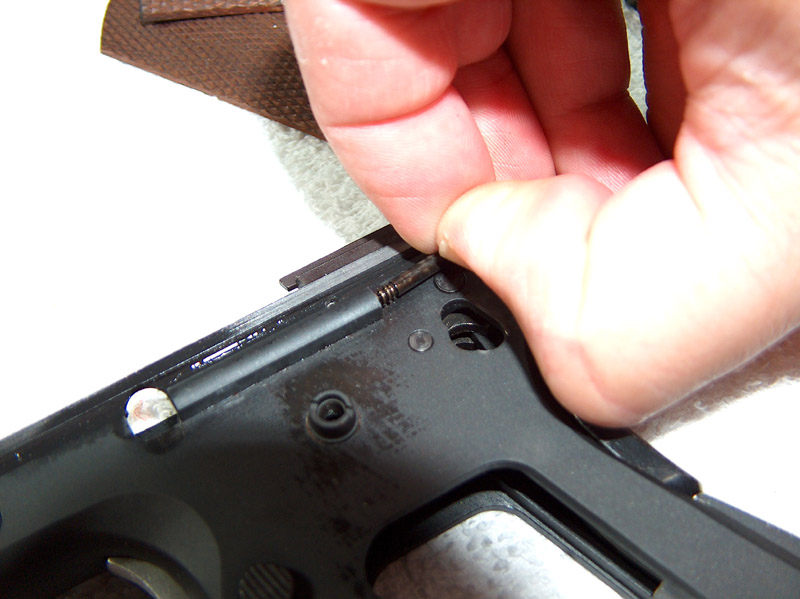
Grab the now-grabbable safety plunger on the opposite side and finish removal by pulling the two plungers (which should both be attached to the string) all the way out.
For the next part, the hammer has to be down. Get a good grip on the hammer, pull it back slightly, and pull the trigger.

Gently let the hammer forward until it comes to rest.
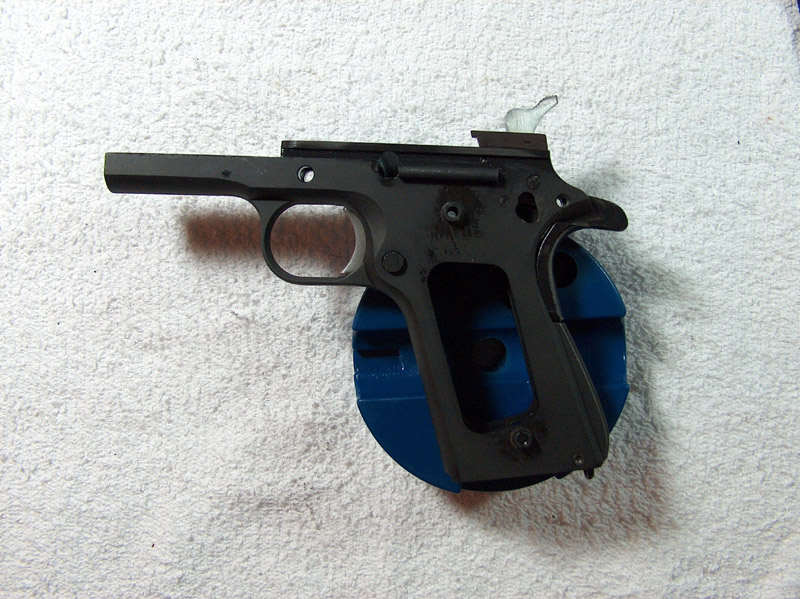
Next up is removing the mainspring housing. I like to use a bench block for this part, as it supports the frame. It's possible to push out the mainspring housing pin without a bench block, but not recommended as a habit due to the danger of warping the frame.
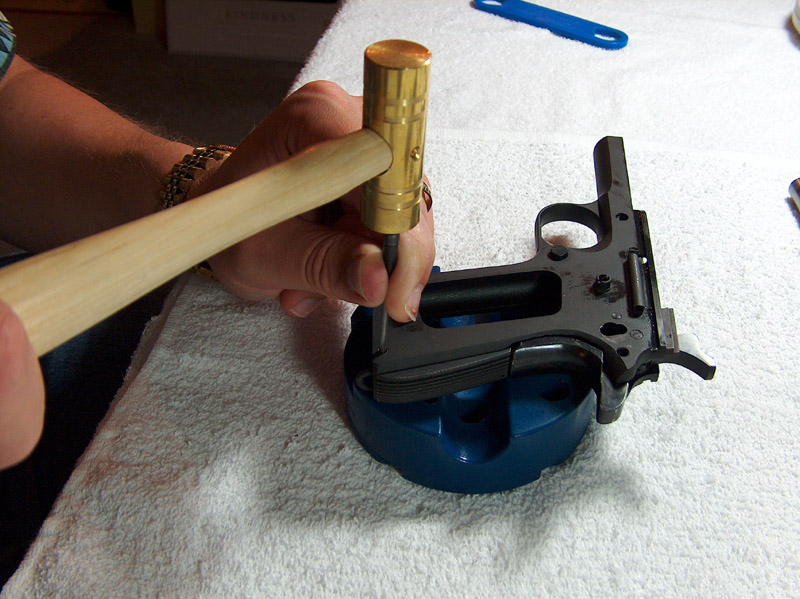
Using a punch or the ubiquitous firing pin, push out the mainspring housing pin. It'll probably be necessary to tap it out with a hammer. Make sure there's a hole or free space underneath the far side where it comes out, or you'll be doing some extremely futile hammering.
If you haven't lowered the hammer when you push out the mainspring housing pin, you risk warping the frame; the mainspring will be under compression, and all its force will be focused unevenly on the frame as the pin starts to move.
With the mainspring housing pin out, the mainspring can be slid down and the grip safety will just fall out.
Gently pull out the sear spring. Technically, this is the sear/disconnecter/grip safety spring (one function per prong), but that takes a lot of typing, which is why everyone calls it the sear spring.
All the components of the backstrap have now been removed.
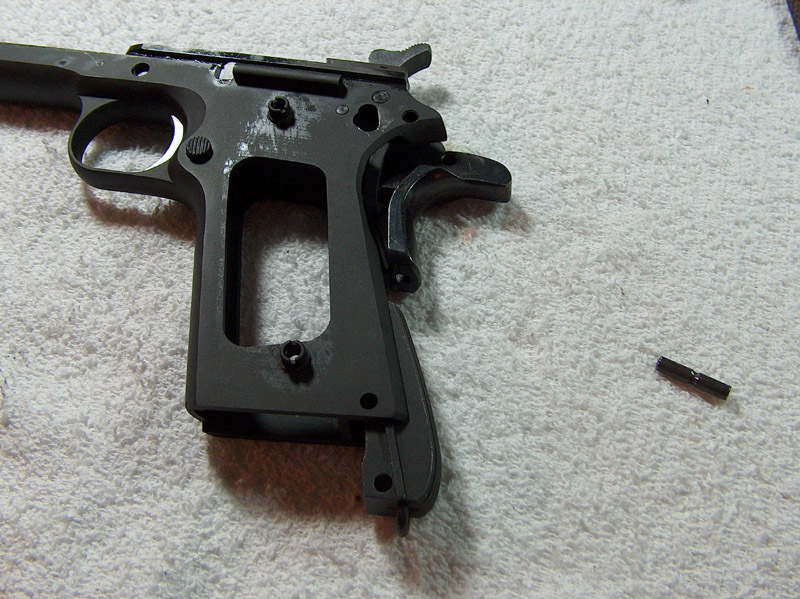
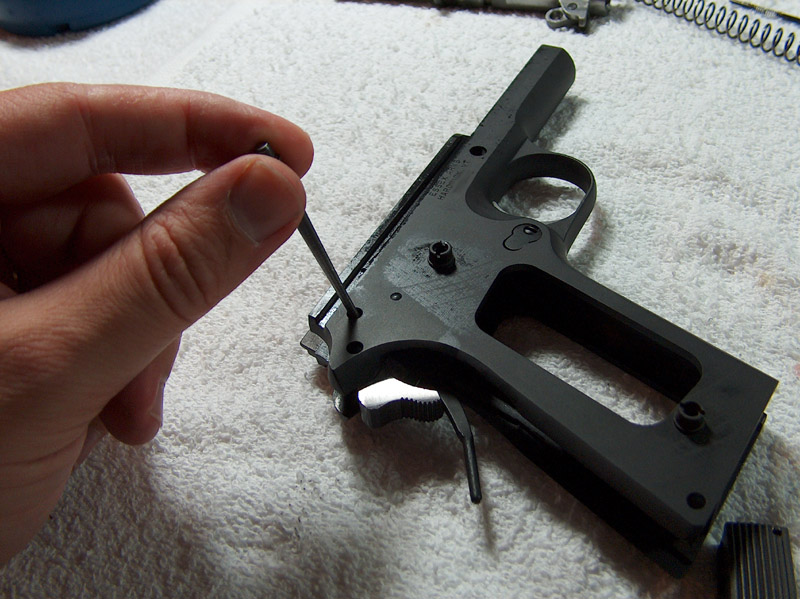
Flip the gun over and start pushing out pins. Here, I start with the hammer pin.
Next, the sear pin. Again, order doesn't matter.
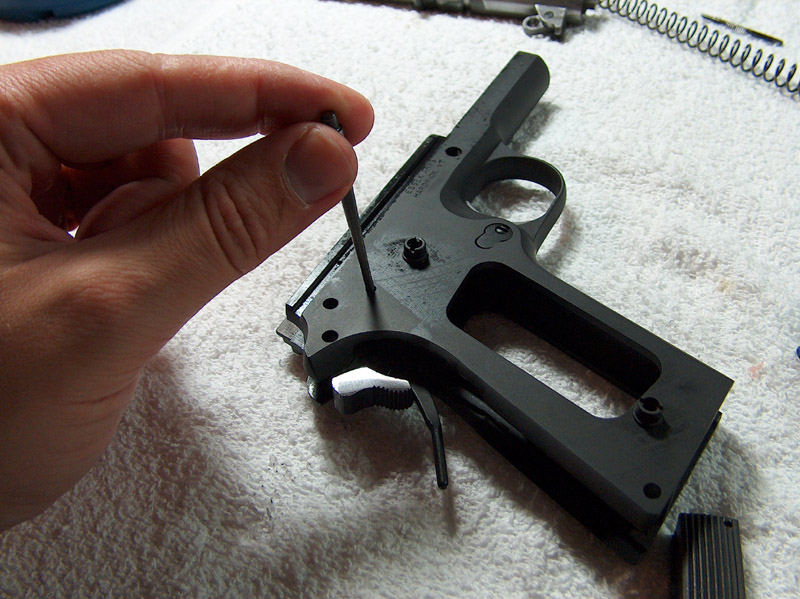
With these last two pins removed, just shake the frame and the hammer, disconnecter, and sear will drop out.

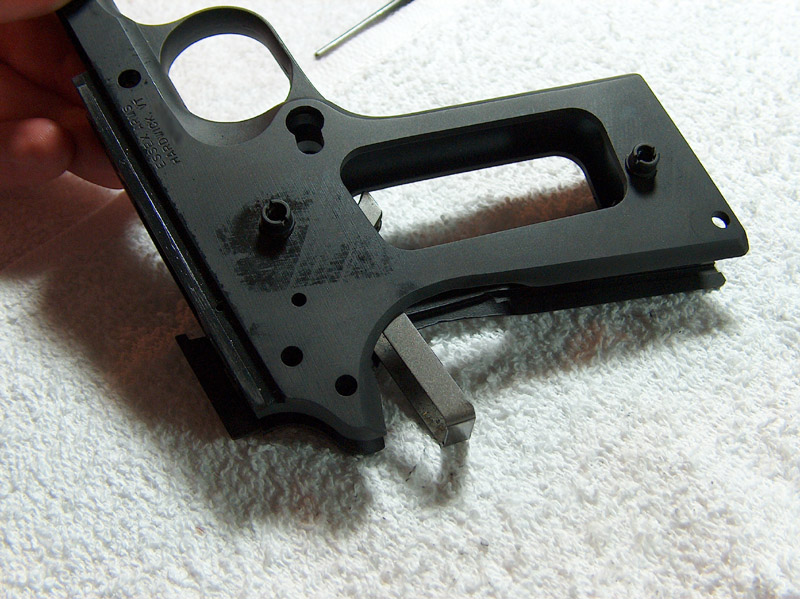
The only things left to remove from the frame are the magazine latch and the trigger. The former retains the latter, so start by removing the magazine latch.
Sorry about the photo resolution, but it's devilishly difficult to get a good picture of this operation. Push the magazine release in about 1/16 inch and, using a small screwdriver, gently turn the the release counterclockwise. This isn't a screw, so don't try to twist it out. It might take some jimmying of the magazine release to get things to work properly.
When the latch is turned far enough, the magazine release will just drop out as a single unit. It's a clever design.
Now the trigger will just drop free. If it doesn't, you probably need to do some cleaning.
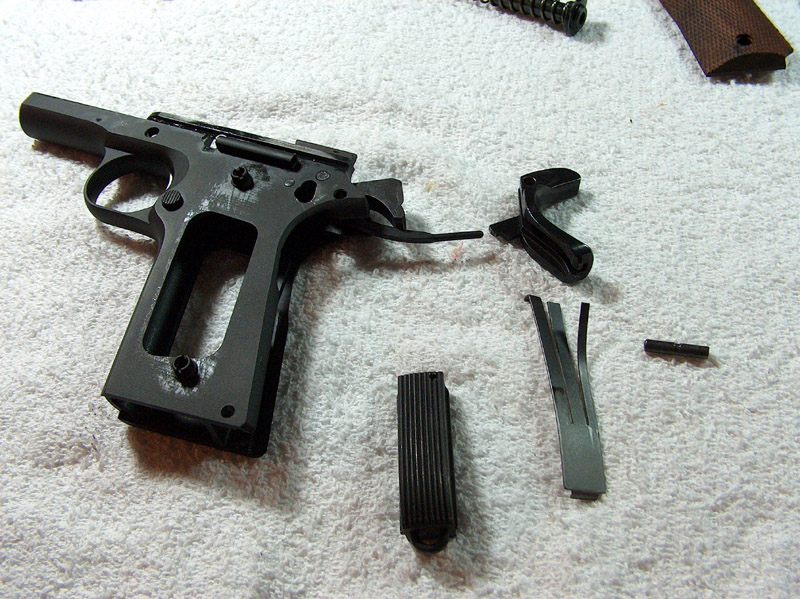
The disassembled frame components. Note the distinct absence of tiny spring, roll pins, or titchy little components that take three hands to remove.
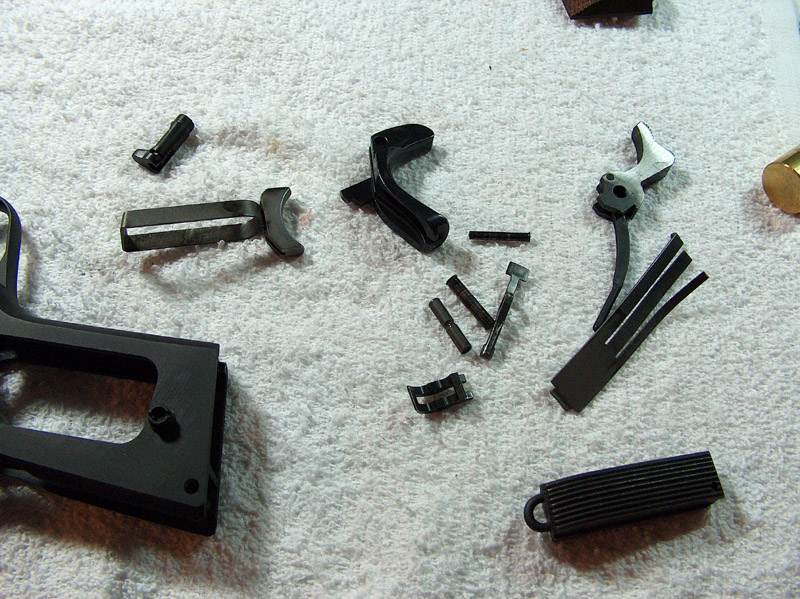
Another thing to keep in mind is that the grip bushings, plunger tube, and ejecter stay on the frame. Like the sights on the slide, removing any of these parts is non-trivial and unnecessary except for modification.
The frame is now disassembled; if you've already done the slide, you now have a pile of parts where your gun used to be. Read on to find out how to get your working 1911 back.
email: hidi.projects at gmail.com