Field Strip
Slide Detail Strip
Frame Detail Strip
Reassembly
More articles
Reassembly
One of the reasons I wrote my own guide to detail-stripping a 1911 is because all the others tended to get lazy at this point and say, "reassembly is disassembly in reverse." This is true enough, but there are a few gotchas that need to be kept in mind.
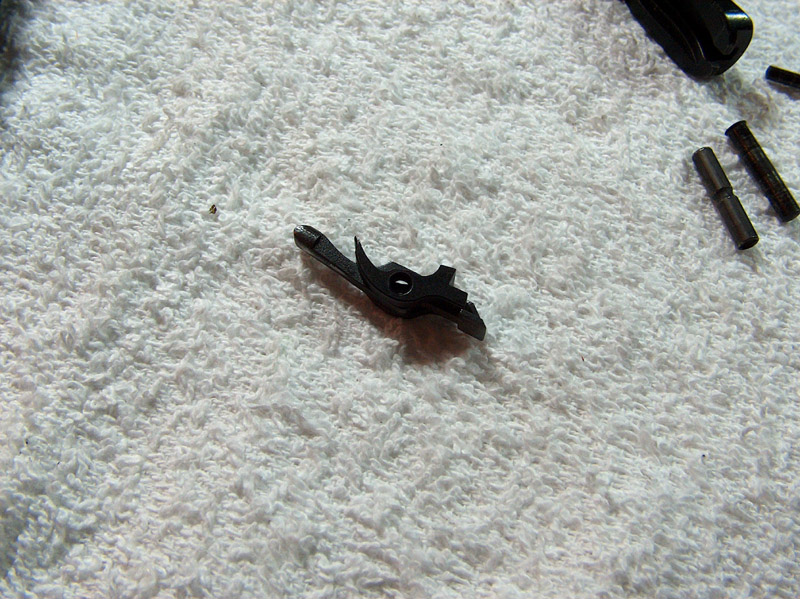
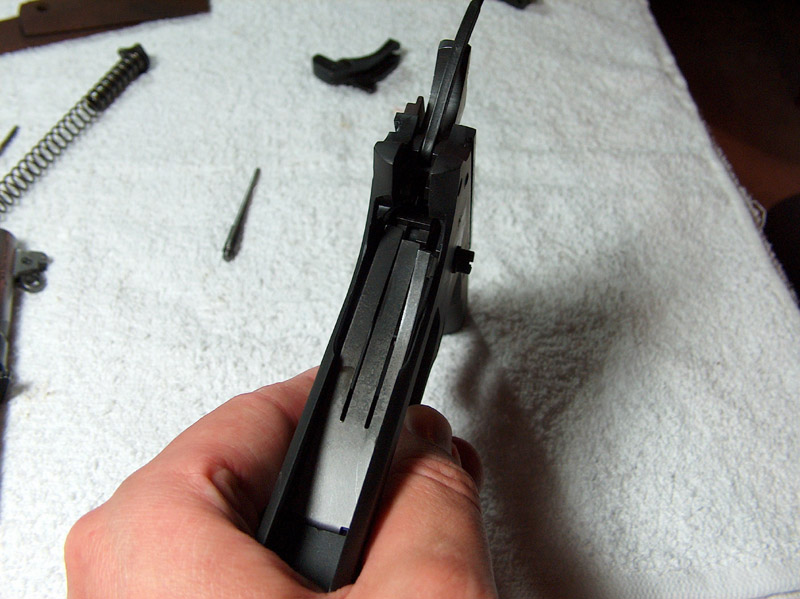
The first and most difficult one is putting the ignition system back together. (This is done after reinstalling the trigger and magazine catch.) Start by positioning the sear and disconnecter as they will sit inside the gun.
Now, keeping them in this relative position, insert them back into the frame until the sear pin hole lines up with the corresponding hole in the sear. If this is your first time doing this, budget about twenty minutes to get it back in. Tweezers can help here, as the sear and disconnecter like to part ways once they're in the frame.
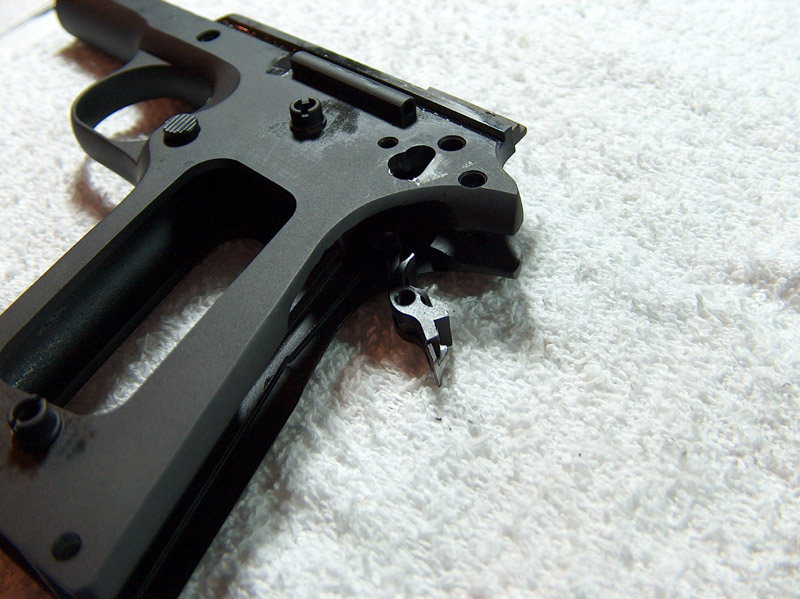
One trick that helps is to push the sear and disconnecter into position, looking through the sear pin hole in the frame until the start to line up, then capturing them with the rounded end of a firing pin.
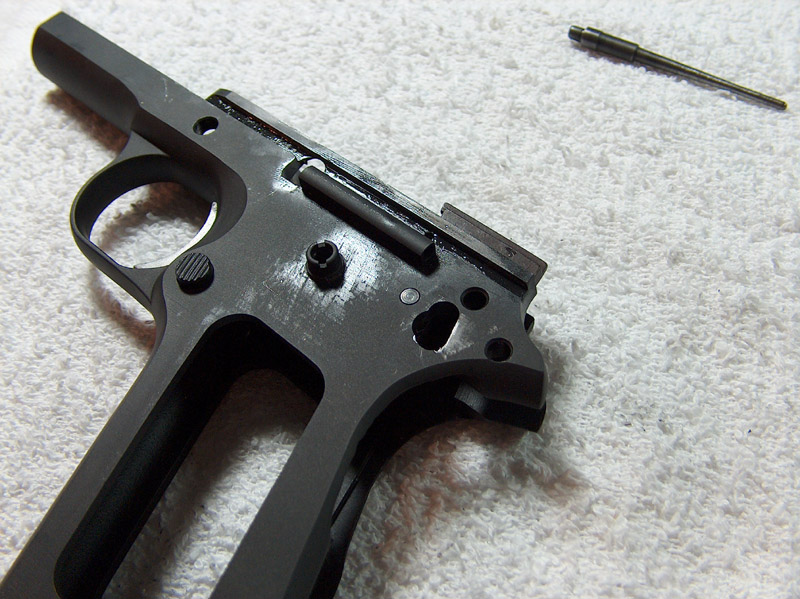
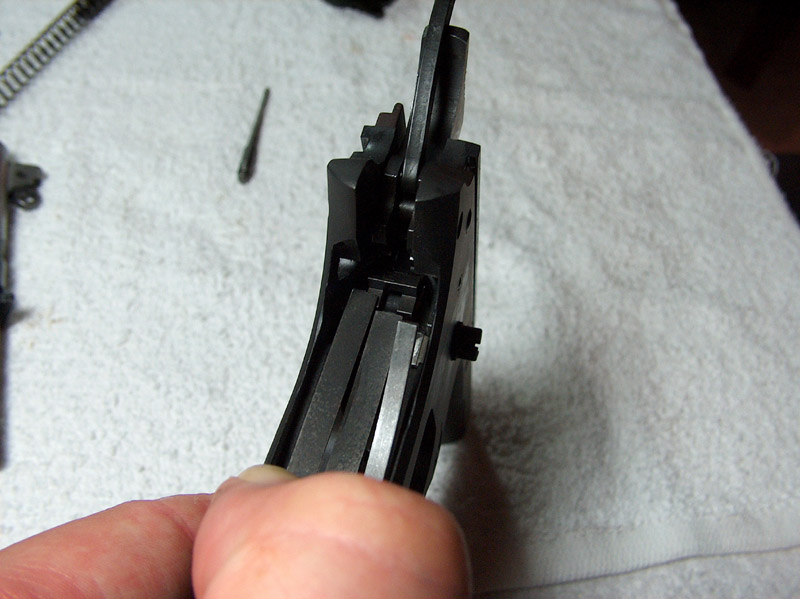
They should look like this once in place.

Remove the firing pin and drop in the sear pin from the left.
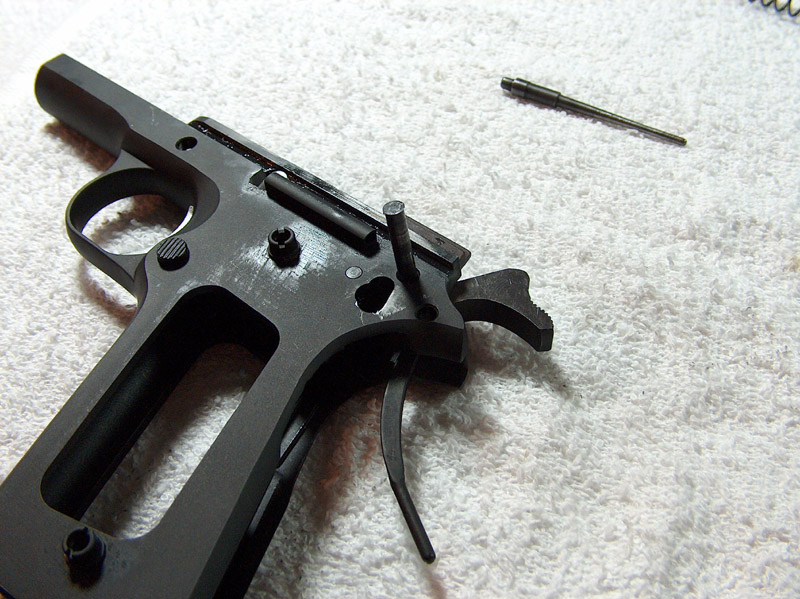
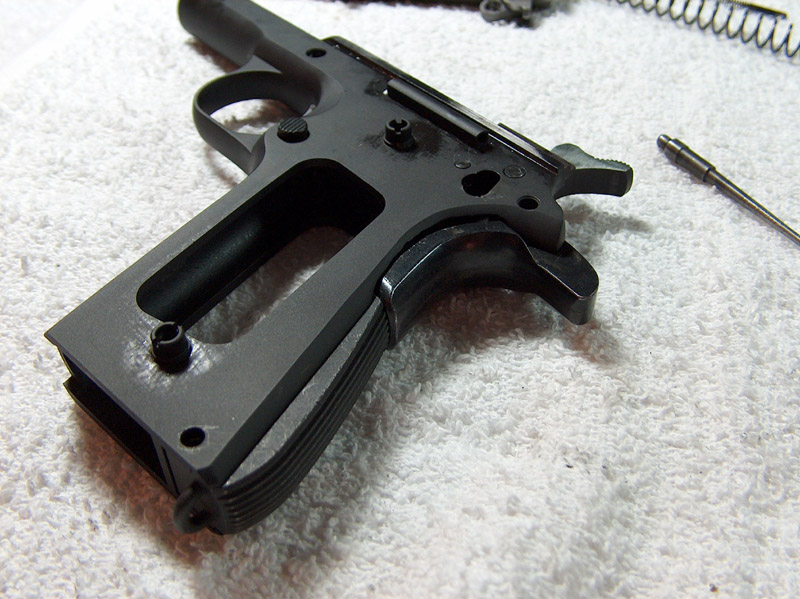
Now position the hammer under the hammer pin hole and insert the hammer pin. If it were any easier, the ATF would already have arrested you for it. Make sure not to cock the hammer, since that'll cause problems when it's time to put the mainspring housing back. If you do accidentally cock the hammer, just pull the trigger and manually push the hammer forward.
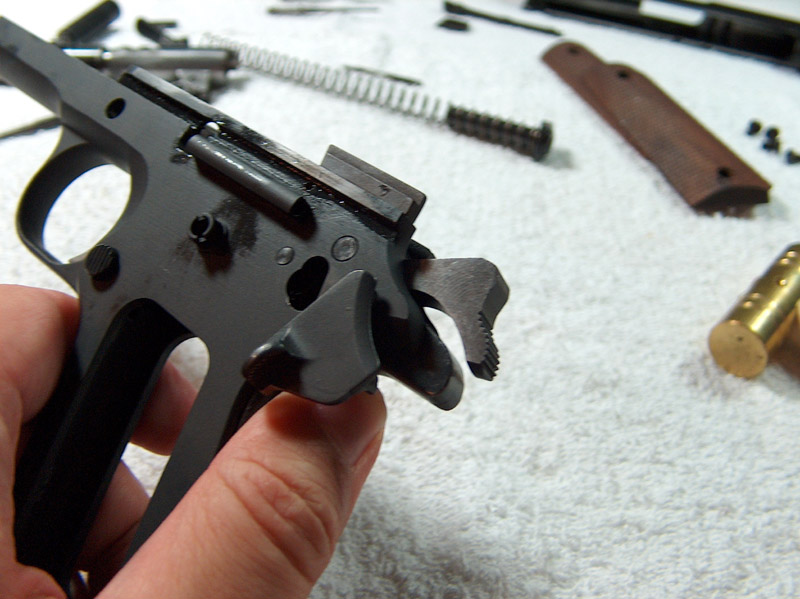
Lift the hammer strut out of the way and insert the sear spring. The bottom of the spring fits into a handy notch inside the frame. This should force everything to be aligned right.
Make sure that the sear spring engages the sear and disconnecter as shown.
Capture the bottom of the sear spring by sliding the mainspring housing partly into the frame. Also, swing the hammer strut down and get it lined up with the mainspring. Don't push the mainspring housing all the way in, though, as that would prevent the grip safety from being inserted.

Once the grip safety is in, the mainspring can be pushed the rest of the way up. It'll capture the tab on the bottom of the grip safety and hold it in place.
Still, it helps to hold it in place even more firmly. Drop the thumb safety in through the appropriate hole, but don't bother lining the thumb safety cam up with the hole in the frame; we just want to hold the grip safety in for now.

Tap in the mainspring housing retaining pin. This goes in the way it came out.

Now you get to cock the hammer. If you forgot to retain the mainspring housing, it'll come squirting out now and leave you feeling very silly.
Reposition the thumb safety in the halfway position, just like when it was removed. This time, though, there's a plunger between the safety and its final resting place. If there's no plunger in the way, put the plunger assembly back in the tube. There; now there's a plunger in the way.

Brownells sells a specialized tool for depressing the plunger so that the safety can be pushed in, but the old firing pin or the tip of a pen will also work fine.

There are no special techniques required to reassemble the slide, hence the lack of any content related to slide reassembly.
email: hidi.projects at gmail.com