Casting Recap
Barrel Alignment
Barrel Exterior
But Weight, There's More
Barrel Liner
Completion and Test Fire
Problem 1: Jamming
Problem 2: Sight Alignment
Problem 3: Unscrewing Barrel
Finishing Up
Conclusion
Appendix 1: Optic
More articles
Alignment Issues
Since I already had a barrel liner and a reamed-out barrel to fit, it would be nice to use these parts with the rest of Kurbelgehause's .22 kit. All that was required was a chamber insert to fit the liner, which Kurbelgehause was kind enough to sell me. A few minutes work with a 5/16 reamer and the chamber insert fit the liner, which fit the barrel.
Too bad that the barrel plus liner and insert didn't fit the receiver. Oops.
What was happening was this: When sliding the .22 sleeve into the barrel with the chamber slipped over the end of the sleeve, the chamber insert would interfere with rails near the chamber. It couldn't make it into the chamber before jamming tight. Some inspection revealed that the barrel was located too low, making the chamber insert try to angle down until wedged tight by tension in the sleeve, which was partway into the barrel.
Somehow, I'd screwed up when calculating the barrel's alignment with the rails inside the receiver. Either the wrong surface was used as a reference, or I goofed up on the math, or the receiver wobbled out of alignment during boring, or evil spirits got into the boring bar. Regardless of the reason, the casting I'd labored so hard on for the express purpose of fitting a .22 kit was now completely unable to fulfill its purpose.
A Boring Solution
After some calm reflection and perhaps a bit of recrimination, a solution came to mind. I would overbore the existing barrel hole, lining up the new hole correctly this time. The overbored hole would permit soldering in a threaded insert, which would put the barrel back where it was supposed to go.
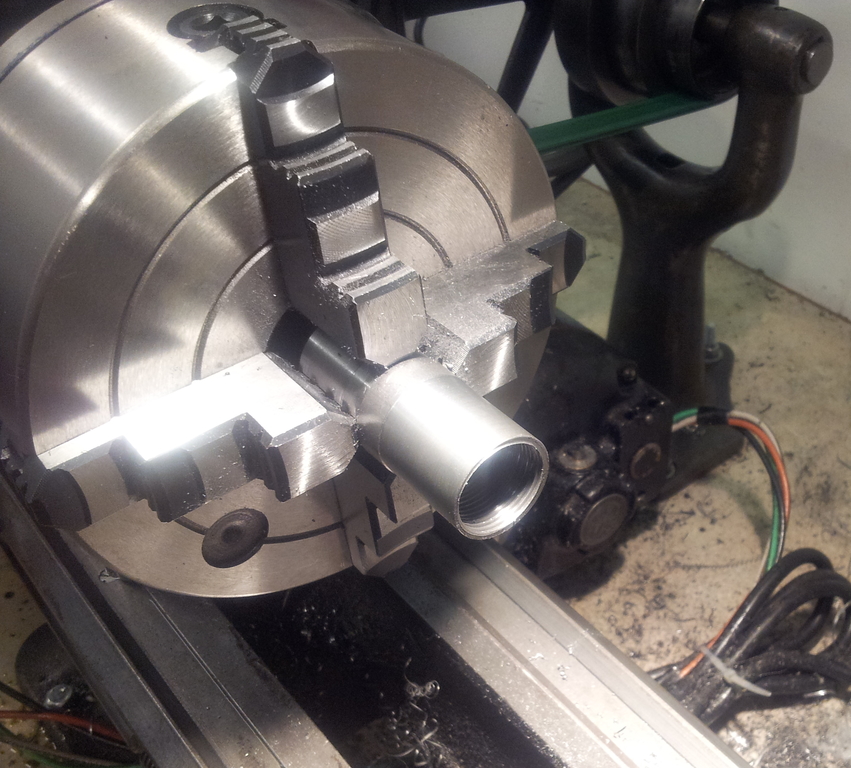
At least, that's how it worked in theory. It started out promising, mounting the the receiver on the lathe's compound, with an adjustable milling machine boring head clamped in the spindle.
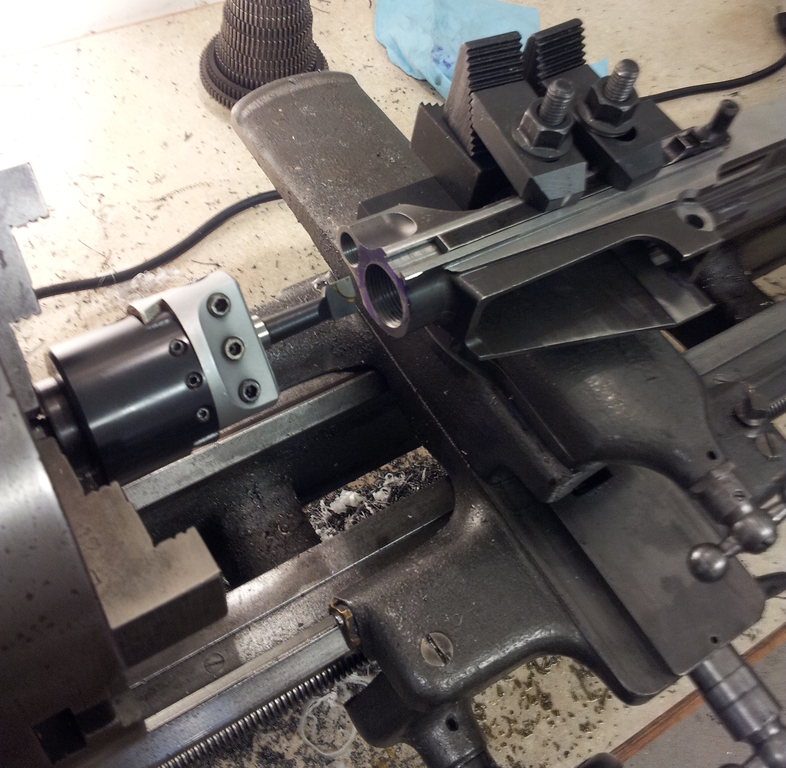
This unorthodox approach was nearly a necessity given the limited range of motion available with my tiny milling machine. It also permitted using the chamber insert to ensure proper alignment and positioning.
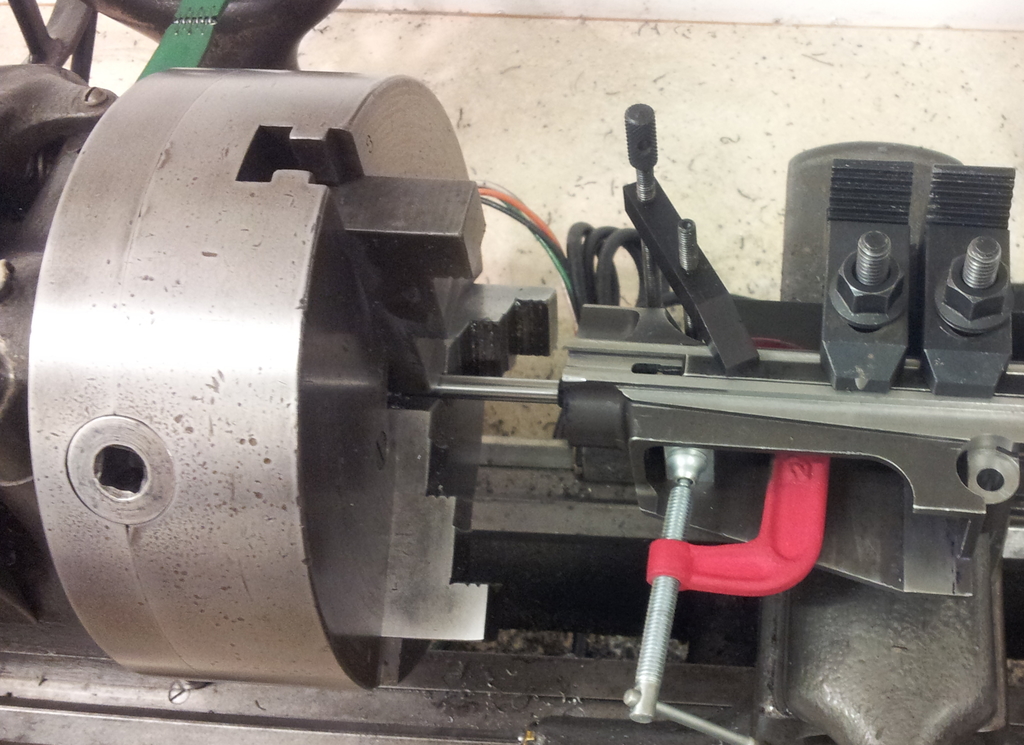
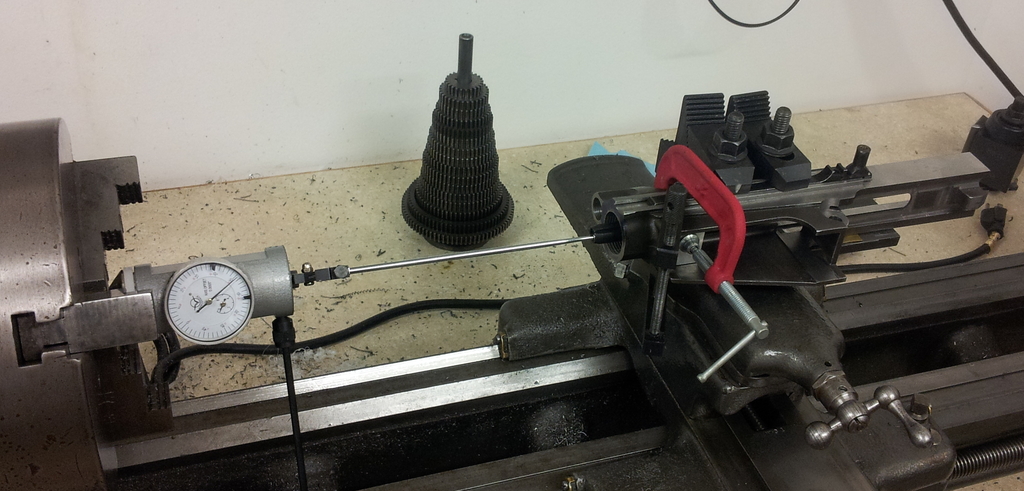
The chamber indicator was clamped in the exact center of the receiver (1/8 inch parallels on either side turned out to fit perfectly) and a length of 5/16 drill rod chucked up. When the drill rod slid perfectly into the 5/16 reamed chamber insert, the receiver was roughly lined up. Then fine adjustments were performed with a coaxial indicator (also chucked up) and the reamed inside surface of the chamber insert.
In theory, this is exactly what's required to overbore and move the barrel hole in one easy operation. In practice, seismographs in Japan probably picked up the vibration induced by using a carbide boring bar, clamped in the chuck and doing an interrupted cut on a piece mounted on the compound. Somewhere in the process, the vibrations shook the receiver out of place and the hole got bored in the wrong location yet again. I discovered this only after making the threaded insert only to realize that now the barrel was sitting too high. And now the hole was too large to permit attempting the same reboring technique as before.
After some therapeutic gibbering, another idea came to mind. This time it wasn't quite as harebraned as the compound-mounted boring idea; it was just a little eccentric. Rather than trying to adjust the hole in the receiver, why not adjust the hole's position in the insert? It would be relatively easy to do using a four-jaw chuck.
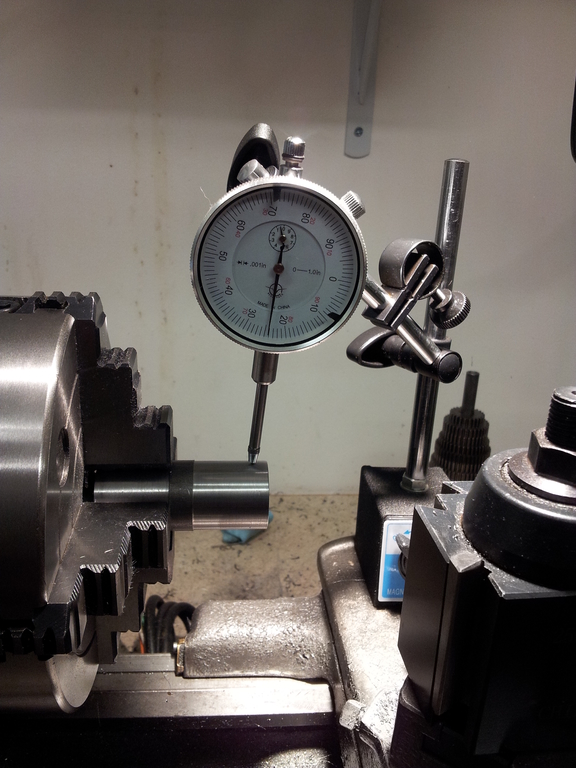
First the outside was turned to the diameter of the hole in the receiver, then moved off-center using the chuck's independent jaws until an indicator showed oscillation equal to the distance the hole needed to move. Then the center was bored and threaded as usual. The eccentrics turned out great.
Note that I used the plural: eccentrics. It took three attempts to get the dimensions right. I got a lot of practice doing internal single-point threads.
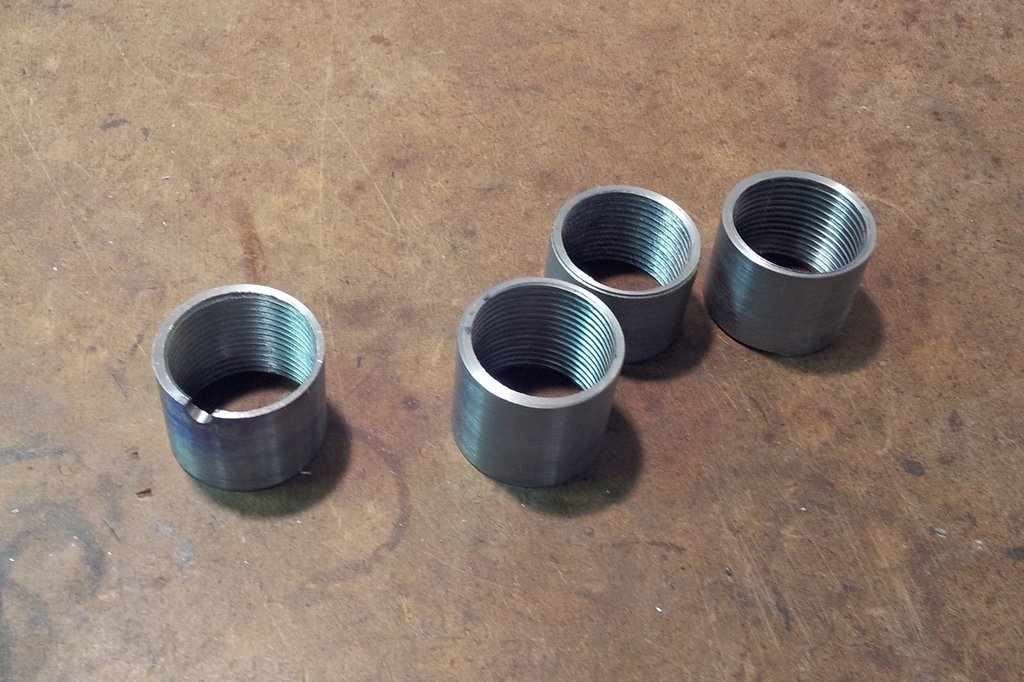
I finally ended up with an eccentric that both fit in the hole properly and realigned the barrel so that the liner slipped in without issue and the chamber insert rested perfectly atop the receiver rails. After that, soldering the insert into the receiver using low-temperature silver solder was downright anticlimactic. Note that the only reason I felt comfortable using low-temp solder was because the barrel was a blowback with a very light bolt. For something like a .45 ACP conversion, I would go with high-strength solder or braze, and wouldn't even attempt this operation for .308.
After the ordeal of correcting two sequential errors in boring, it was a relief to be able to screw the barrel onto the receiver, blissfully unaware that my correction had just introduced two new dimensional problems. But that was in the future. For now, the modifications planned for the outside of the barrel would let me do something right for once.
email: hidi.projects at gmail.com