Casting Recap
Barrel Alignment
Barrel Exterior
But Weight, There's More
Barrel Liner
Completion and Test Fire
Problem 1: Jamming
Problem 2: Sight Alignment
Problem 3: Unscrewing Barrel
Finishing Up
Conclusion
Appendix 1: Optic
More articles
Timing
The first thing I did with the reamed-out dedicated .22 barrel was to perform an operation I'd done many times before on otherwise-unmolested .308 barrels: turning back the barrel shoulder to adjust barrel timing.
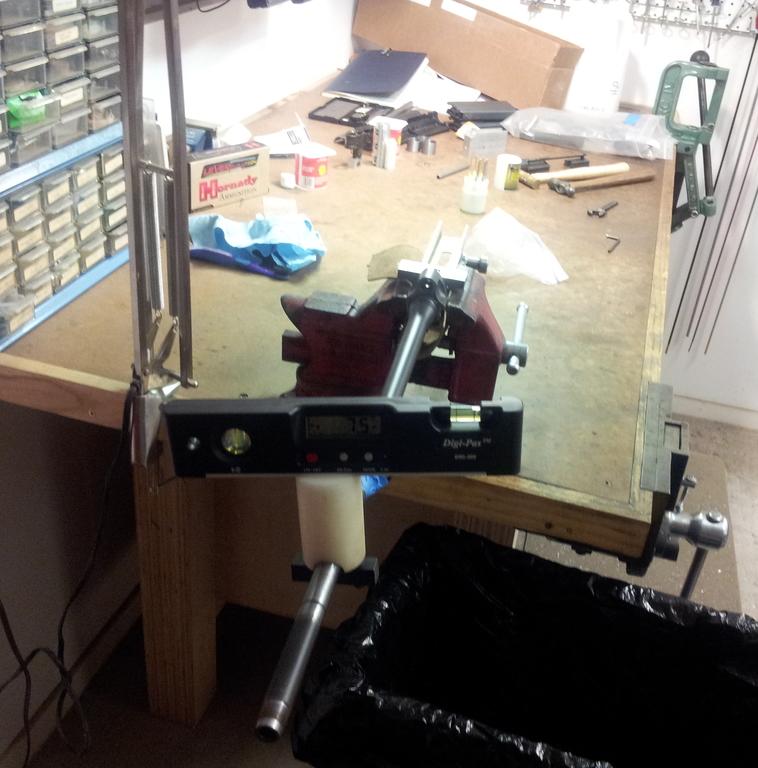
I intentionally timed the barrel a lot closer to the final torque position than is recommended for centerfire FALs:
There were two reasons for this. First, the barrel threads were part of the eccentric insert soldered into the receiver and I was worried that excessive torque might pull the insert out. Besides (and this was reason number two), what were the odds that the miniscule woodpecker-like impacts of the .22 bolt would jar the barrel loose? We'll revisit the validity of this assumption later.
For now, though, the low-torque barrel allowed me to forgo the normal rigamorale of receiver wrench and barrel vise. Instead, I just clamped the receiver in the bench vise and torqued the barrel with a crescent wrench. The alignment methodology remained the same, though.
Barrel Threads
An integral part of any unnaturally heavy .22 is a nice weighty muzzle device. Perceived weight sees the best return on investment as the weight moves toward the muzzle, so I knew immediately what kind of muzzle device to use: a Stolle brake. This cylindrical chunk of Austrian steel is the heaviest muzzle device commonly available for FALs. In fact, I was able to eke out a couple more ounces of weight by finding someone willing to sell his ban-era Stolle replica, which replaced the flash-hiding tines with solid metal and muzzle brake ports.
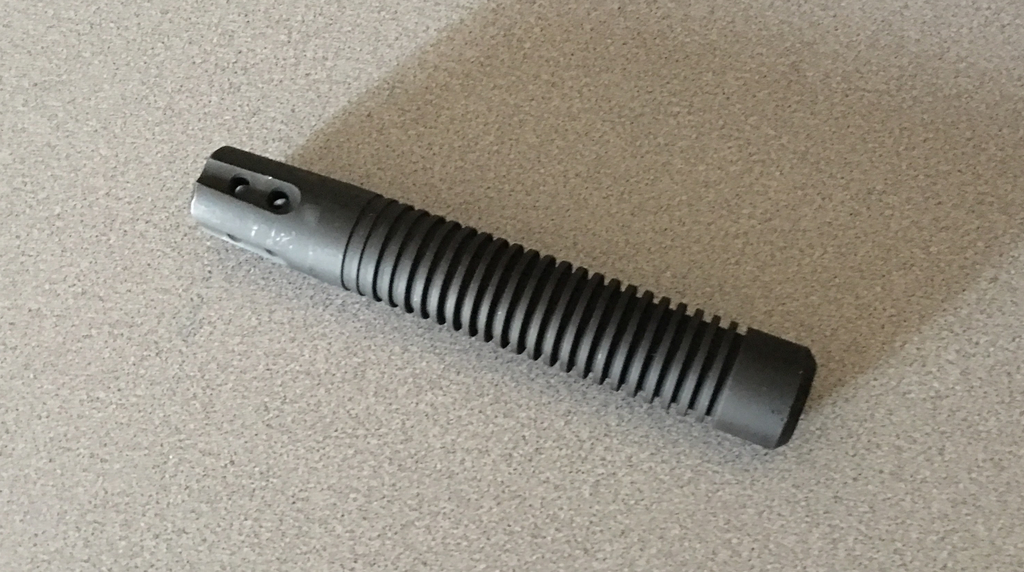
The brake helps tame some of the infamous .22LR recoil.
There was only one problem: The Argentine barrel had an unthreaded muzzle. Fortunately, the lathe was still set up...

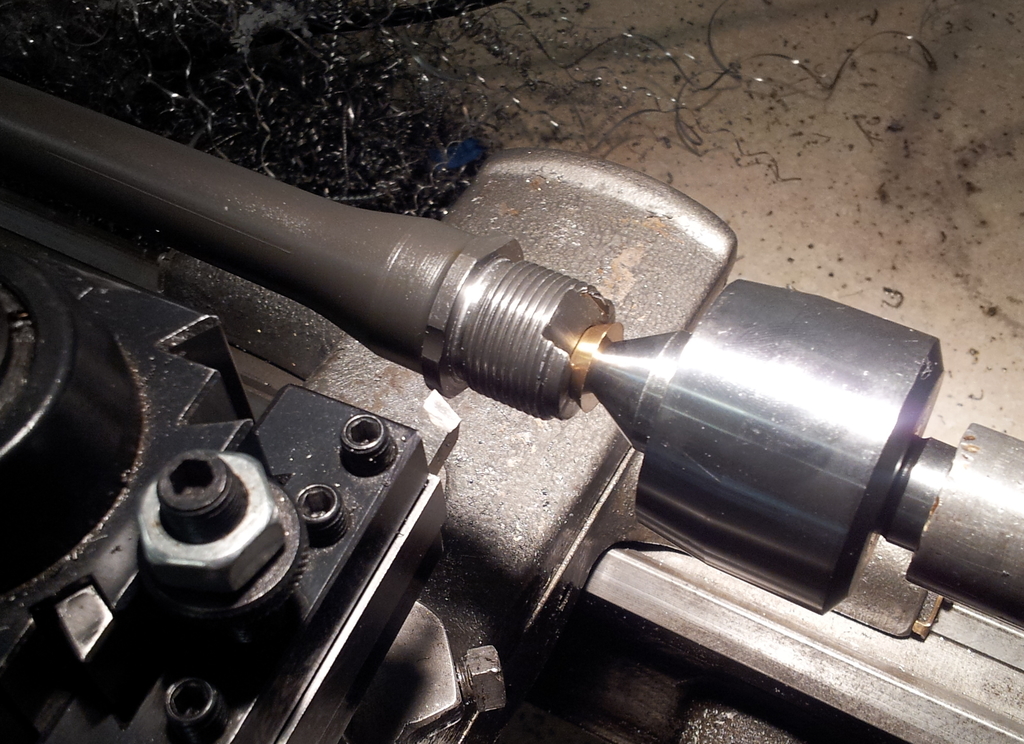
Starting from scratch.
Working on the dedicated .22 barrel was nice because the crown and chamber are all located on the insert. The barrel could therefore be turned directly on steel centers without irritating brass cones or having to turn a brass center.

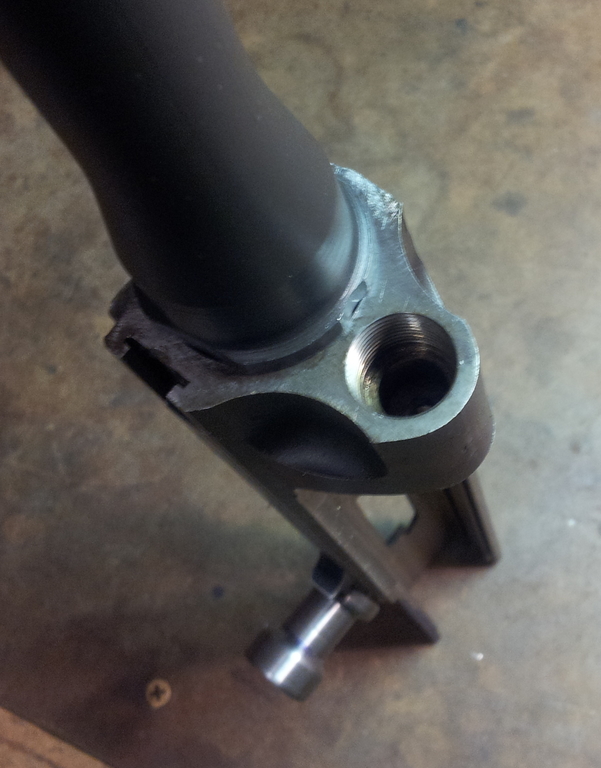
The muzzle threads turned out great. This was my first time threading near the tailstock and doing left-hand threads. After multiple eccentrics' worth of internal threading right up to the chuck, it was a breath of fresh air.
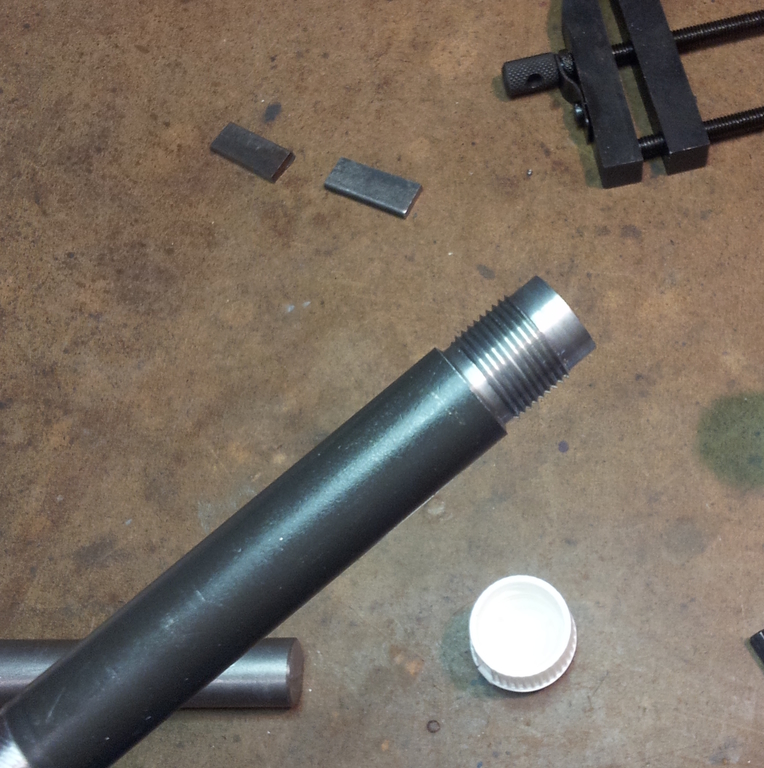
Fresh air does not come out this end.
Lug Removal
There was only one problem with the muzzle threads, but it was nowhere near the end of the barrel. Like G1 barrels, Argentine barrels feature a lug on the underside for fitting muzzle devices and/or bayonets. Although the lug is relatively far back from the muzzle, the Stolle device was long enough that its base ran into the lug before the threads engaged. I could turn down the end of the Stolle, but that would reduce weight more than getting rid of the lug. Besides, I was planning to refinish the barrel, but the parkerizing on the Stolle was good enough to leave alone. The choice was clear.
Making an interrupted cut on a skinny FAL barrel naturally lends itself to horrific vibration, so I clamped it as close to the spindle as feasible and indicated its OD as close to true as the military barrel would permit.
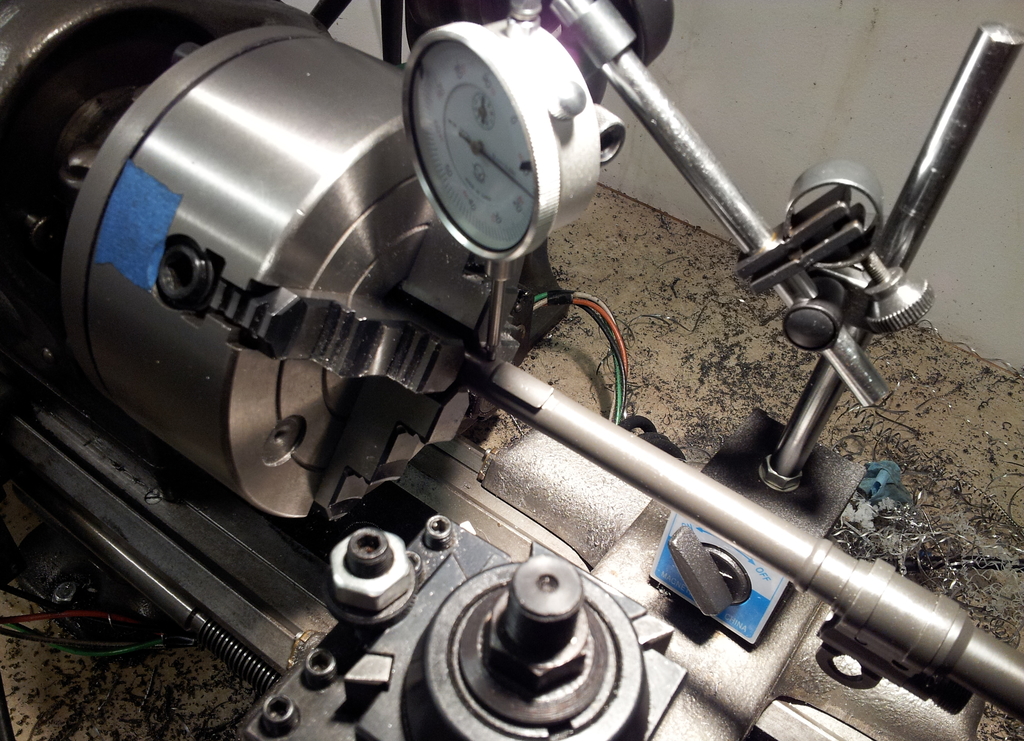
Then it was just a case of turning it flush with the rest of the barrel. Fortunately, this section of a FAL's barrel is not tapered.

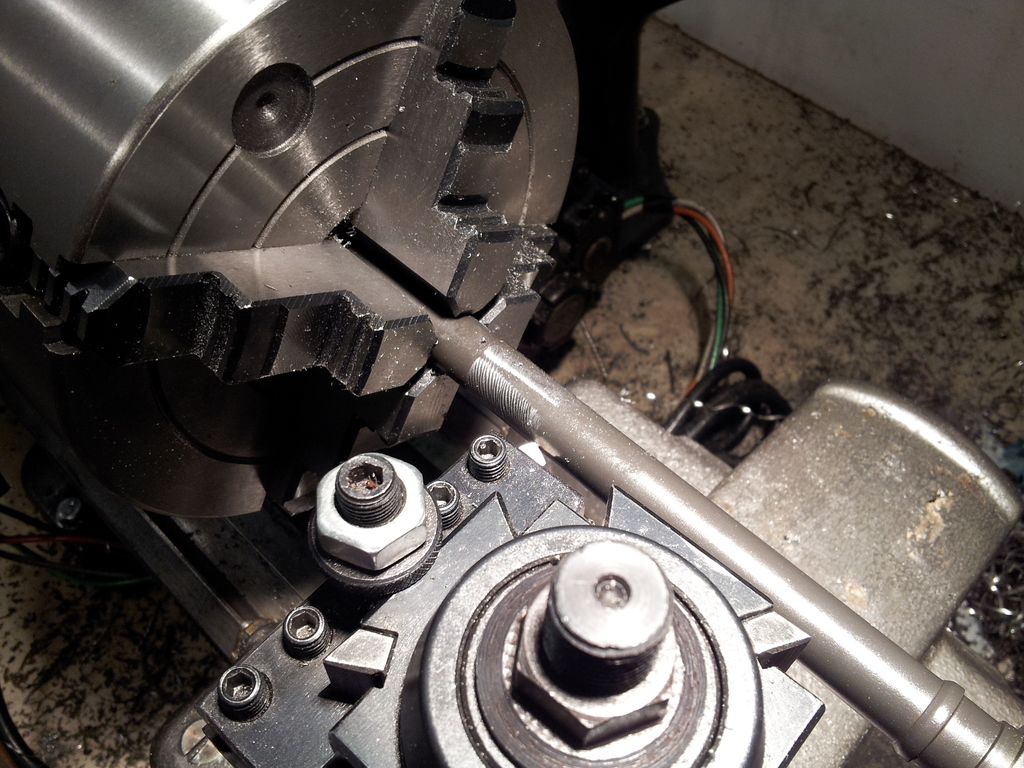
Chattery even this close to the chuck.
The resulting shiny band was still partially visible when the Stolle was installed, but that wouldn't matter after parkerizing. What mattered was that now the barrel was front-heavy as all get-out.
Speaking of heavy things, rather than continuing on to the barrel liner, let's take a break from barrel-related subjects and take an amusing and possibly unsettling detour into several of the things I did to make this .22 FAL extra heavy.
email: hidi.projects at gmail.com