Casting Recap
Barrel Alignment
Barrel Exterior
But Weight, There's More
Barrel Liner
Completion and Test Fire
Problem 1: Jamming
Problem 2: Sight Alignment
Problem 3: Unscrewing Barrel
Finishing Up
Conclusion
Appendix 1: Optic
More articles
A Walk in the Park
Actually, it's kind of a pain in the butt to parkerize a barreled action when one's space and equipment are limited. All parkerizing I'd done to date had been limited to what would fit into a small stainless steel pot perched on a camp stove outside my shed. Obviously, this wouldn't work for 30 inches of barreled action.
Rather than go to the expense of dedicated park and rinse tanks with propane burners, I used an approach recommended by Brownells for those of us who only parkerize rifles occasionally. Parkerizing works fast enough that, given proper ambient temperatures, one can pour the solution into an unheated tank and let the barreled action parkerize before the temperature drops too low.
Such an approach is appealing on the grounds that I'm not made of money, so I bought a couple of Brownells' fiberglass tanks and a giant jug of concentrated parkerizing solutions. One advantage of the fiberglass tanks is their angled sides, which reduces the volume of solution required from five gallons for straight-sided tanks down to three gallons. When part of your plan involves pouring near-boiling acid out of a pot into a tank, every ounce saved confers a degree of comfort.
I don't have photos of the parkerizing process because it involves lots of scrambling around to maintain temperature while blasting metal and waiting for the compressor to recharge, but here's a summary of how I do it.
- Clean parts in boiling water with purple degreaser. Whimper slightly from the temperature even while wearing thick gloves. The boiling water melts grease and makes oil flow, and the degreaser carries it away from the surface.
- Allow parts to dry. For once, surface rust is a sign that you're doing things right.
- Spray parts with carb cleaner. Some might consider this excessive given earlier degreasing, but neurotic surface prep has never failed me.
- Blast parts. I use aluminum oxide because glass dust scares me.
- Submerge parts in boiling water after blasting. This tends to make them parkerize slightly faster and eliminates a dip in solution temperature as the part goes in. It also helps remove stray metal or aluminum oxide dust. Best of all, it prevents surface rust if the parts need to wait before going into the parkerizing solution: Metal doesn't rust in boiling water because all the dissolved oxygen in the water is forced out.
- Finally, place parts in the parkerizing solution.
- When the reaction stops, take the parts out and put them back in the boiling water to stop the reaction. You can also do this with cold water, but boiling water is more effective at pulling residual parkerizing into solution and keeps the metal hot, so it dries fast when removed.
- Remove the metal, blow dry, and oil.
A note to those who decide to take this approach: When it comes time to pour the parkerizing solution out of the tank, I recommend placing the bucket which will receive the solution over the end of the tank prior to tipping the tank. Trying to pour through the air into the bucket will cause extensive spills, even if using a funnel. This is totally hypothetical and not based at all on personal experience, of course.
Another recommendation: When you pour the parkerizing solution out of the pot and into the tank, hold your breath and, if possible, wear goggles and a face shield. Alternately, rinse your eyes and face aftward. Phosphoric acid vapor isn't the most horrible thing out there, but nobody likes burning eyes and a face that looks like you got too much sun.
I didn't take photos while parkerizing, but only results count. And the results were good.
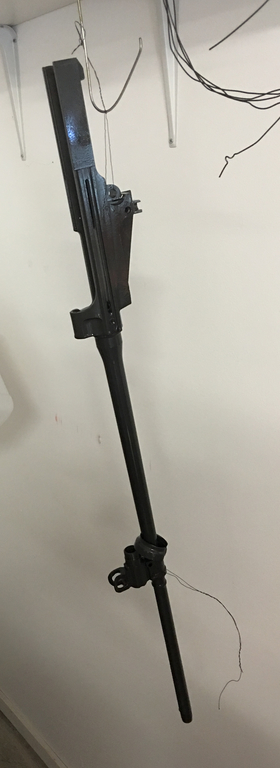
Letting excess post-park oil drip off.
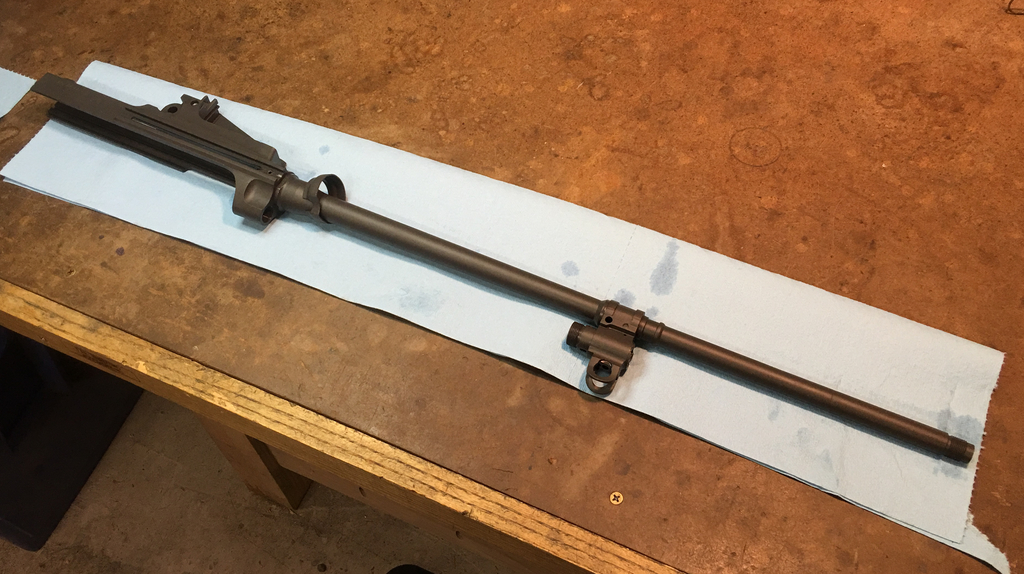
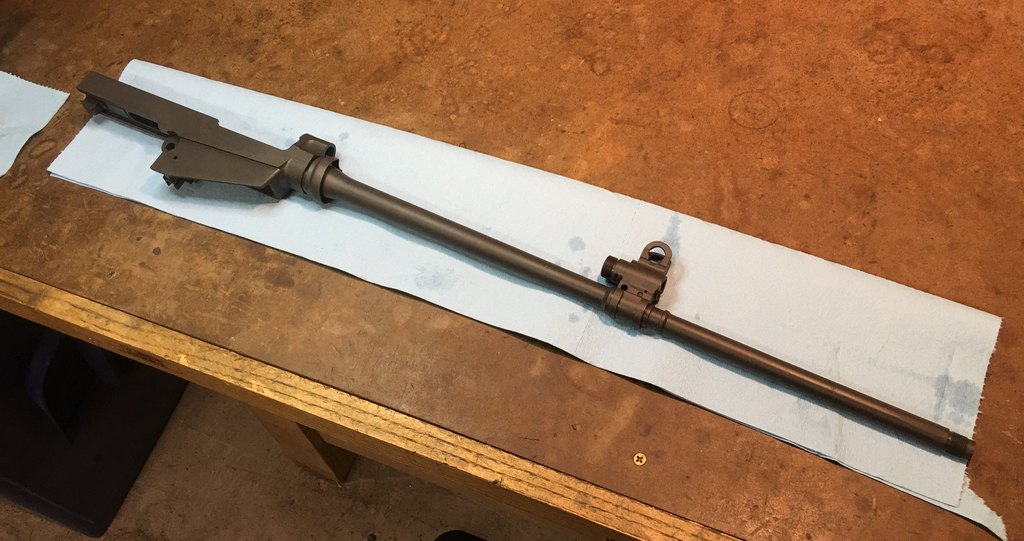
I prefer a slightly darker color, but this is a new batch of parkerizing solution and may need to mature a bit. Still, the quality and uniformity of the finish was excellent.
Paint the Town Green
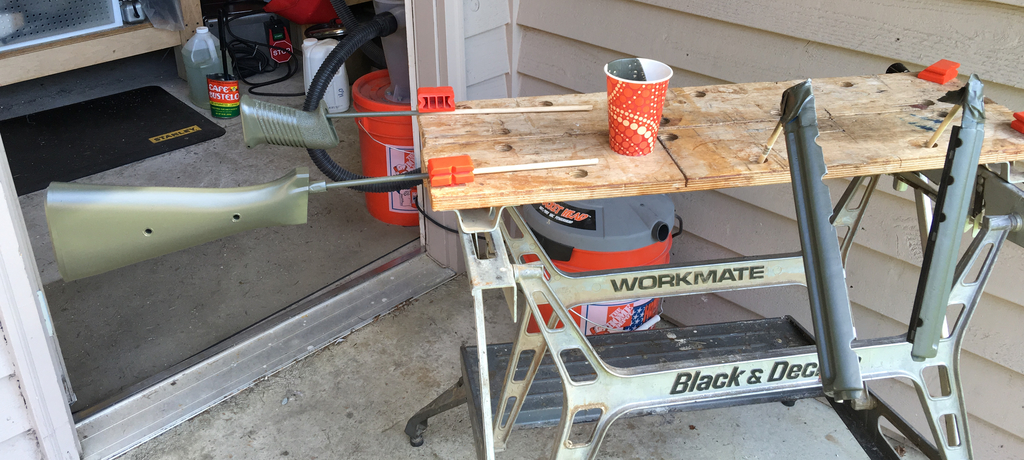
The buttstock, pistol grip, and handguards that made up the .22 FAL's furniture set were all picked to use up parts considered too old and messed-up to consider for use on a nice fancy .308 FAL. As such, their aesthetics left much to be desired and could benefit from a coat of paint. Rather than continuing a theme of basic black, I decided to mix things up and use OD green Alumahyde to make the .22 FAL stand out from its .308 counterparts. (One may have too many of a given type of firearm when it becomes necessary to color-code them by caliber.)
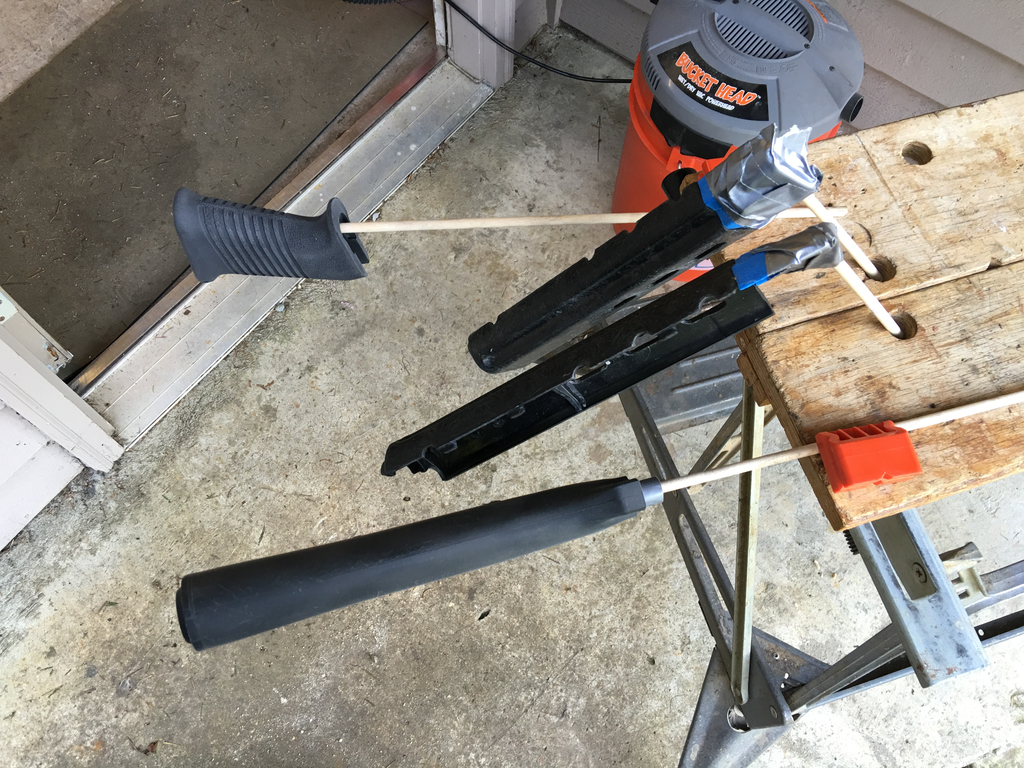
Degreased and lightly aluminum oxide blasted for better paint adhesion.
Painted. Seeing as how this is Alumahyde, it'll stop being tacky one of these months.
I'd added aesthetic appeal, but it still remained to be seen whether the barrel had been aligned propery with the set screw, and whether the new, rough parkerizing interfered with functioning. Only one way to find out...
email: hidi.projects at gmail.com