Casting Recap
Barrel Alignment
Barrel Exterior
But Weight, There's More
Barrel Liner
Completion and Test Fire
Problem 1: Jamming
Problem 2: Sight Alignment
Problem 3: Unscrewing Barrel
Finishing Up
Conclusion
Appendix 1: Optic
More articles
The Bullets Are Going Where?
A trip to the range confirmed that magazine lip tweaks and the horrible hack of feed ramps had solved the feeding problem even when cycling in semi-automatic mode. It was delightful to line up the sights on a target and fire round after round without issue, cartridges feeding smoothly and brass cases ejecting cleanly.
Speaking of lining up the sights, where were the bullets hitting? Now that the rifle could shoot more than a single round at a time, it made it obvious that the bullets weren't going where the sights were pointed. Inspection of the target revealed that the point of impact was extremely low.
Fortunately, that's a standard problem with a standard solution. I lowered the front sight a bit and shot again. Still low. Repeated. Still low. I continued in the vein until the front sight bottomed out completely, and bullet impact was still well below where it needed to be. Even adjusting the rear sight to a farther distance setting didn't fix things.
As some research later revealed, I'd fallen into a common trap in the FAL world. The front sight block was an older style which put the front sight post higher than later designs. However, my rear sight was a standard metric style that expected a later, lower gas block. The rifle needed a lower front sight or a higher rear sight.
A Sight for Sore Eyes
My first question was whether it was possible to machine down the front sight post far enough to get the rifle on target. Some quick trigonometry revealed two things:
- Contrary to the opinions of me at the age of 14, trig did come in handy later.
- The front sight would have to be machined down to a tiny nub even to get on target when bottomed out.
The front sight couldn't be lowered, so the rear sight would need to be raised, or replaced with a higher version. Inch-pattern rear sights sit higher than their metric counterparts, so one of those would work. In fact, I had an inch rear sight, but its detent spring was missing and the sight body was wobbly on the base. Unwilling to be deterred this close to a working project, I tightened the sight body in a vise until it had to be tapped into position with a hammer, then soldered it in place. Doing so ruined the ability of the sight to be adjusted for varying ranges, but that ability was pointless on a rifle to be used exclusively at 25 yards.
With the rear sight thus chastised, I turned my attention to the front sight. It was of the old square-based and tapered-post type. Neither of these features were particularly appealing, so I decided to convert it to a form that worked with a standard metric sight adjustment tool.
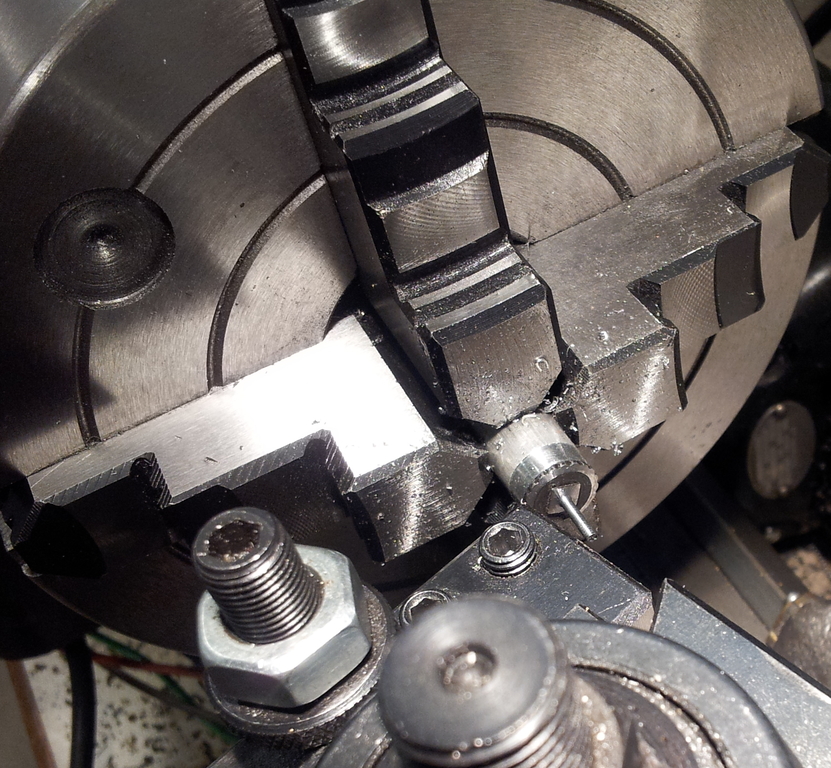
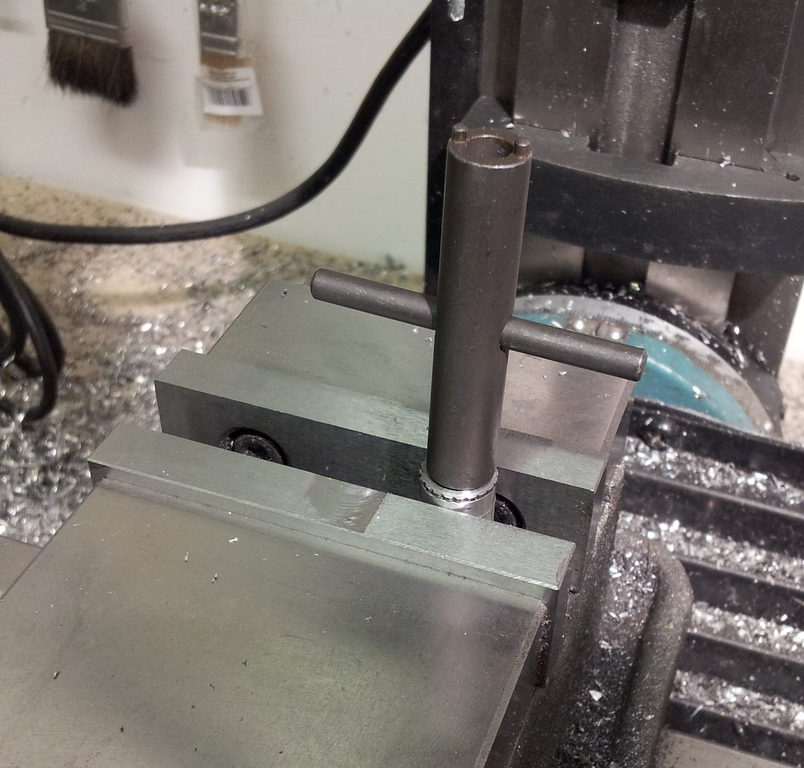
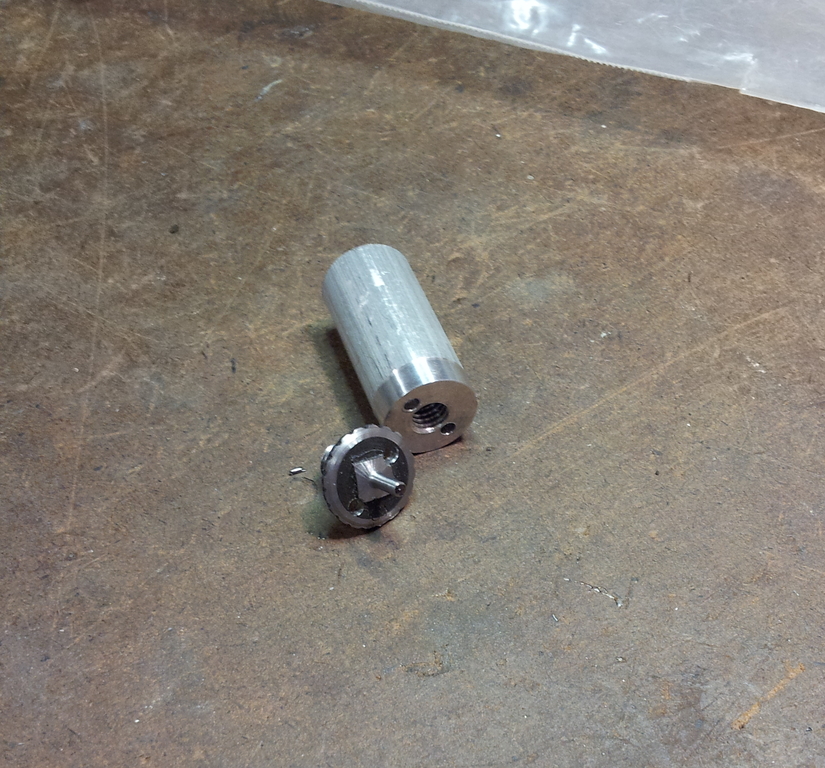
The first step was building a jig to permit holding the sight in the vise. This was nothing more than a length of aluminum stock drilled and tapped for the front sight's screw base.

Both sides are faced. This comes in handy later.
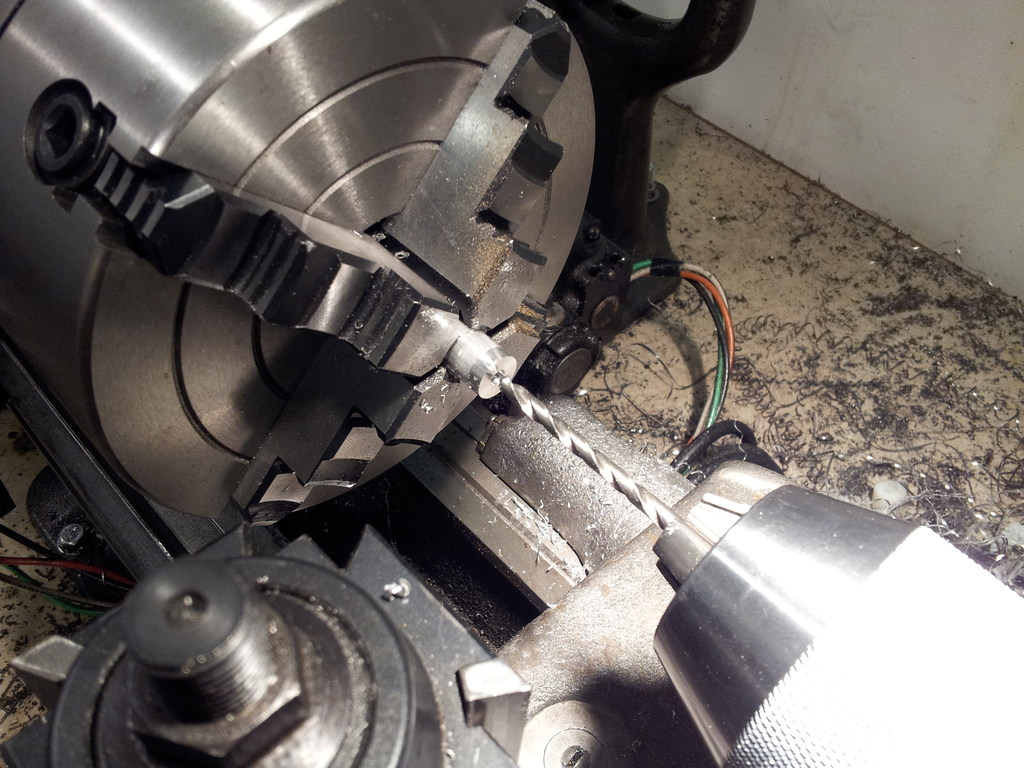
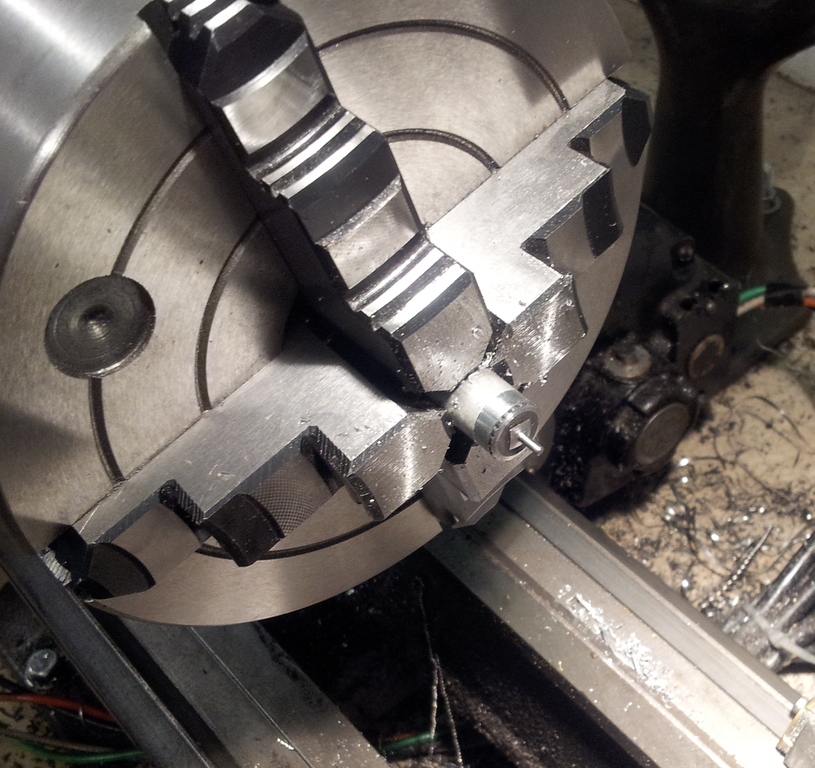
At this point, the post could be turned down to eliminate both the taper and the square base.
I used a Dremel cutoff wheel to shorten the sight to a length that mathematics assured me would be in the correct range, then faced the cut in the lathe. I didn't want to use a cutoff tool or other turning tool to shorten the sight post for fear of bending it.
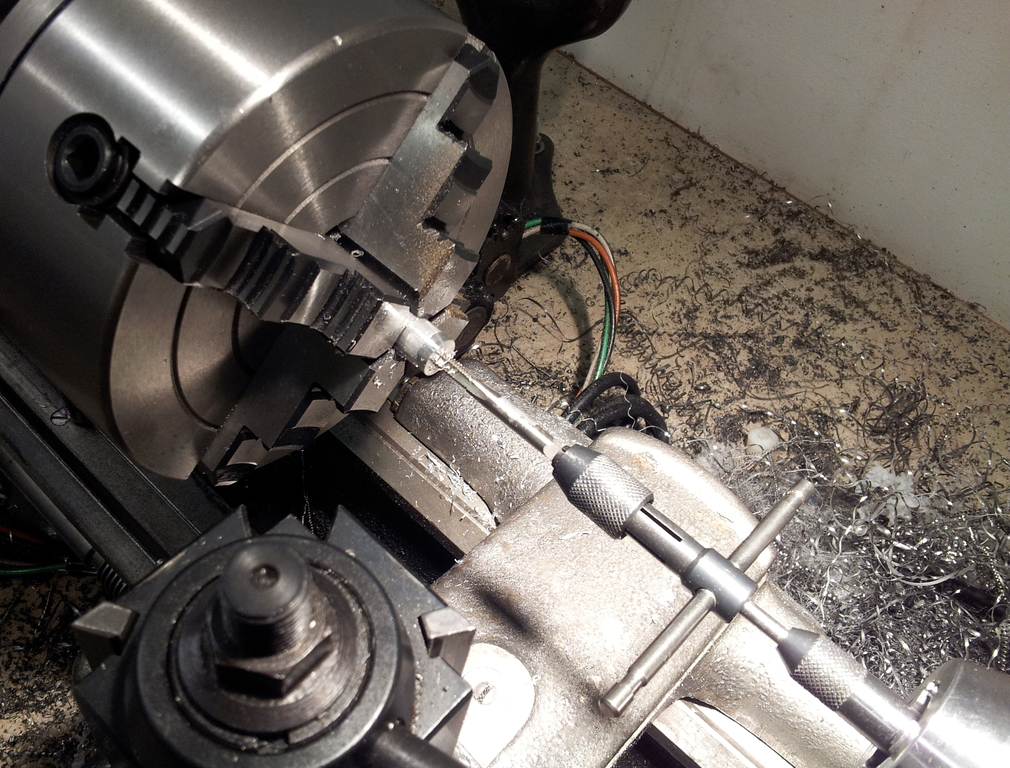
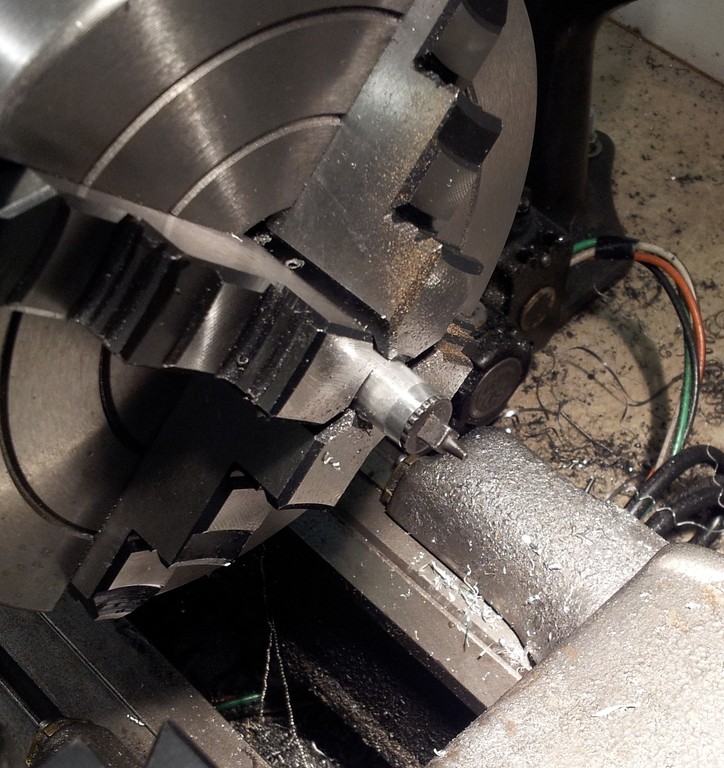
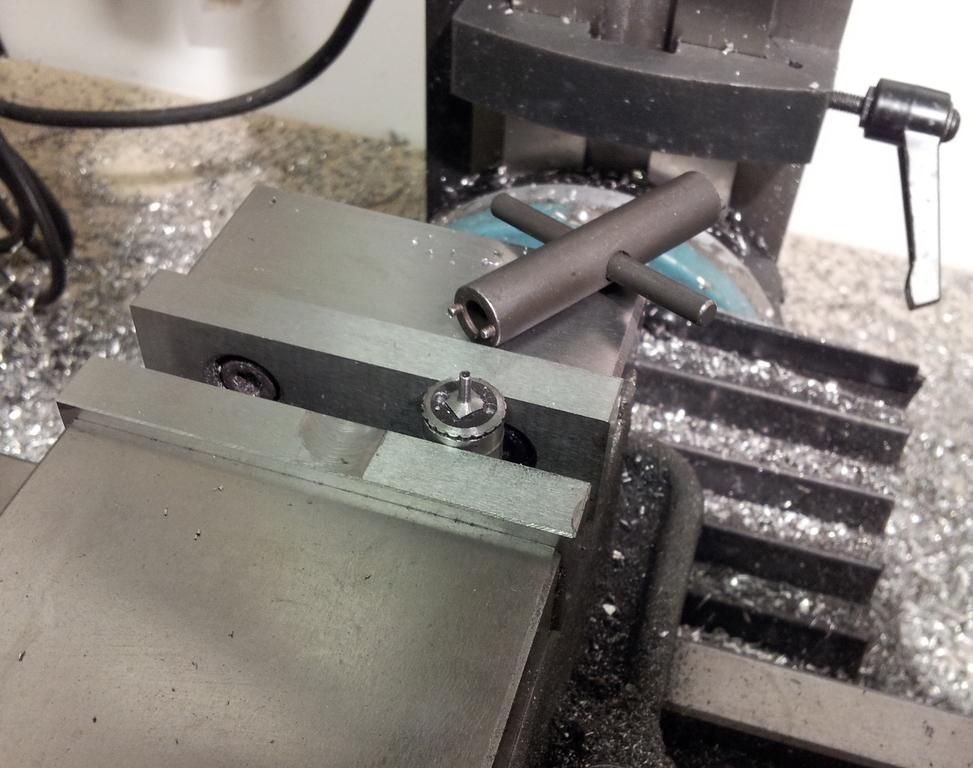
A metric sight tool requires a hole on either side of the sight post, so I just slapped the jig into the milling vise and chucked up a center drill. I'd faced both sides of the sight jig earlier, which made it possibe to rest one end on the trued ways of the milling vise. I referenced off the sight post by eye with a drill bit of similiar diameter to the front post, then just used the caliper dials to space the holes to match the dimensions of a metric sight tool.
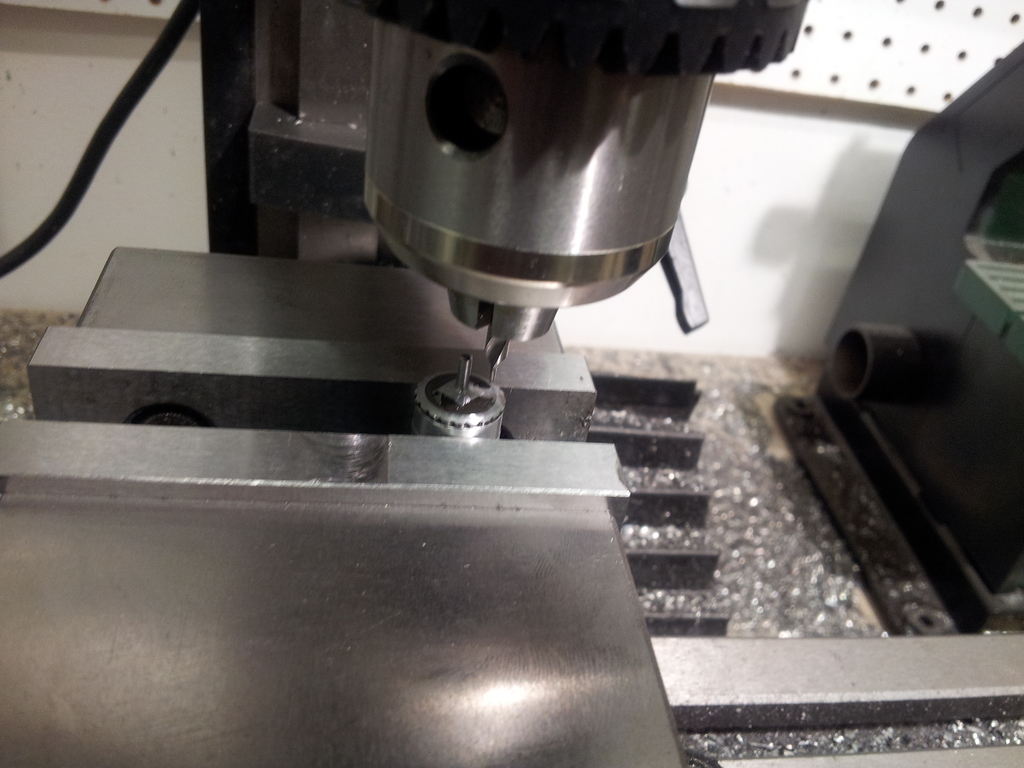
It was precise enough to get the job done.
Now I had a jig that could be used for any theoretical future front sight conversions. If it comes to that, though, I think I'll just extend the existing holes from the starter bit the rest of the way through the jig, then just run a drillbit through them and drill through the sight from behind.
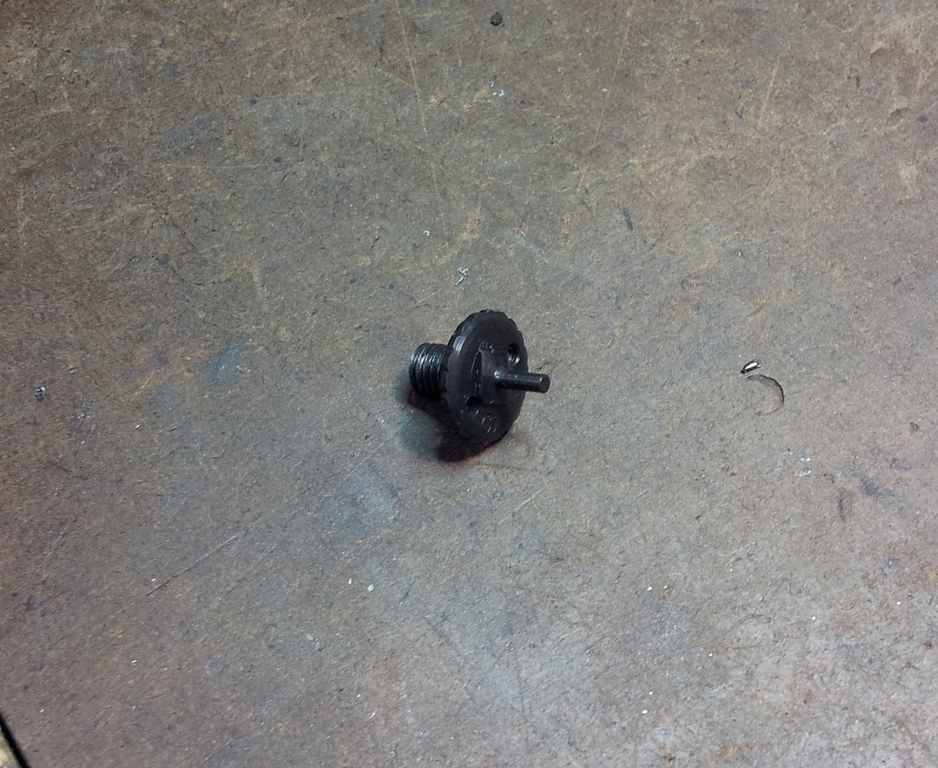
Finally, because silvery steel front sights are not conducive to the best accuracy, the completed sight took a dip in the oxide tub.
Results
If this experience counted as adjusting the sights, then I'll never again complain about having to do so by turning a screw or a knob. Unsurprisingly, modifying both front and rear sights brought about a change in how the rifle sighted; fortunately, the change was for the better. The sights could now be adjusted to bring rounds on target, where they demonstrated some highly satisfactory grouping for irons at 25 yards with an improvised rest.
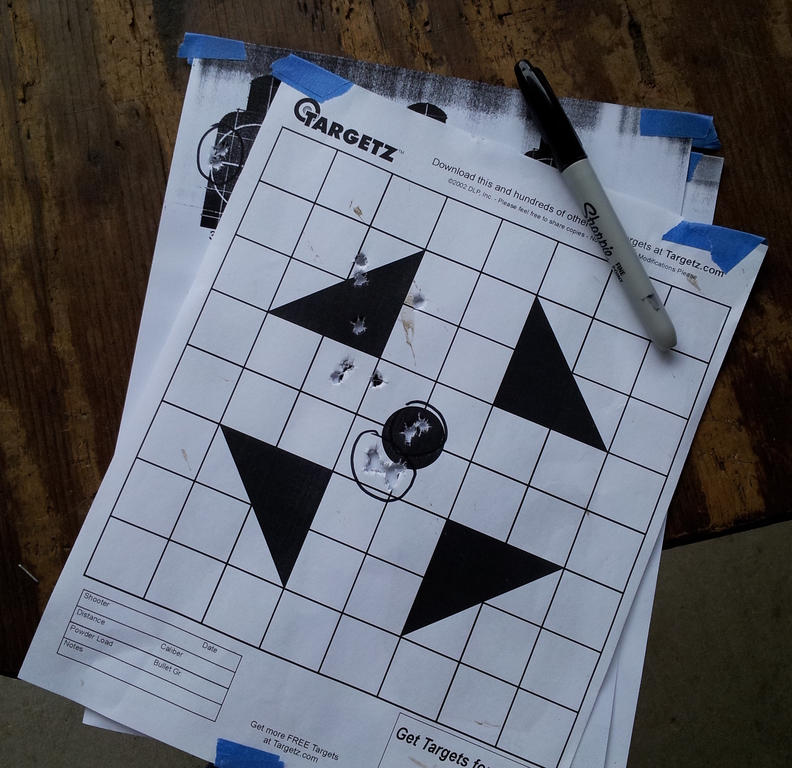
Circled groups are three or five rounds.
The .22 FAL hadn't blown up, was now functioning reliably, and shot well enough to demonstrate when I was screwing up. The criteria had been met...but only temporarily. As the silhouette target in the photo above presages, we weren't out of the woods yet.
email: hidi.projects at gmail.com