A Million Little Pieces
I've Been Framed
Guts and Glory
Pins and Needle Files
My Luggy Day
Searious Issues
Sliding Into Position
All Together Now
Spacing Out
Wear to Go from Here
Barreling Ahead
Breech of the Piece
Starting Out with a Bang
Round Two (hundred)
The Kart of Barrel Fitting
Fed Up
Safety is a Snap
Dispatches from the Front
Pulling Through
The Final Part
Lessons Learned
Frequently Asked Questions
Errata and Clarifications
More articles
Barreling Ahead
At long last my Auto-Ordnance barrel, link, and link pin arrived. My patience was richly rewarded with an utter piece of crap. Out of the bag, the barrel had rust on the hood and minor pitting in the bore, neither of which were beyond minor cleanup, but any one of which would have been sufficient to make me uneasy about Auto Ordnance's quality control. That, and the fact that the link they sent was warped to the point that it wouldn't rotate when inserted between the lower lugs. The link pin was okay, though; apparently a small cylinder of metal is within Auto-Ordnance's manufacturing abilities.
I decided to make lemonade by cleaning up the rust and transferring the link and pin from my other barrel. In retrospect, it would have been quicker and less painful to have just sent everything back and demanded a refund. Then again, it might not have turned out that well; any company that will sell someone such clearly malformed parts isn't one I'd bet on for good customer service.
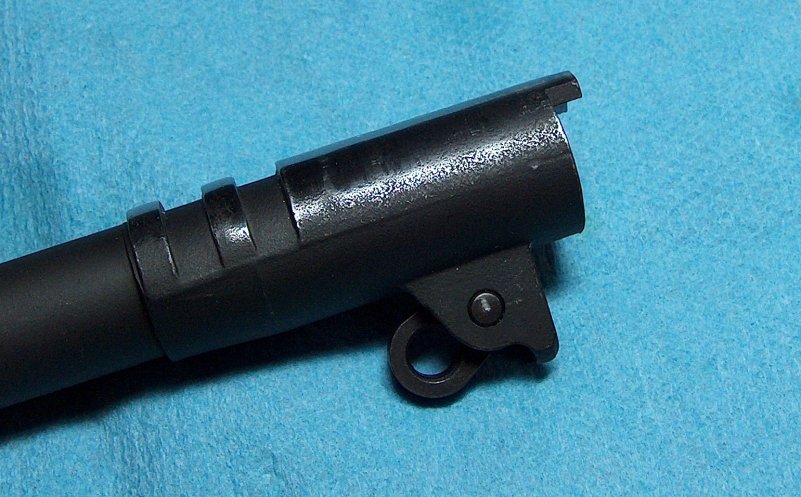
Hood left, post rust-cleanup.
The rust on the hood cleaned up with some sandpaper. I'd been planning on sanding the hood anyway, since the top was polished white, but only in the area that would show through a standard ejection port. My slide had a lowered ejection port, so I needed to extend the polish down to keep it from looking weird. The bore cleaned most of the way up with some bore paste and elbow grease.
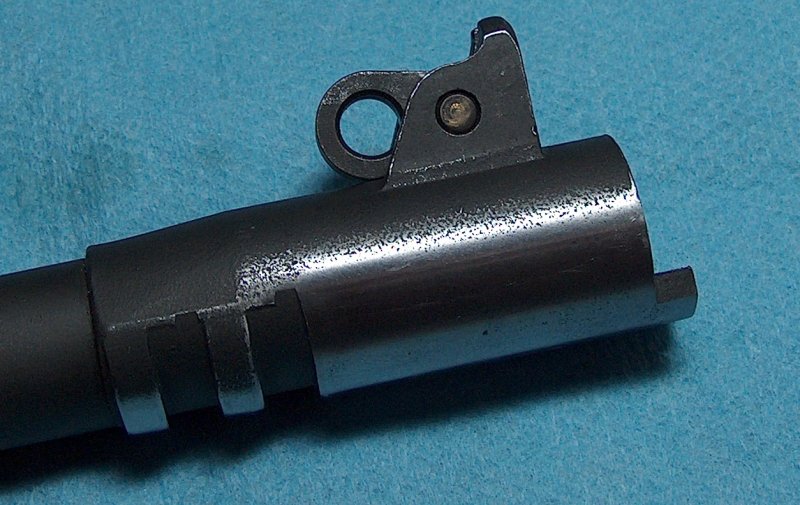
Hood right; note larger area of shininess.
I put together an impromptu bench block using a scrap of 2x4, a hammer, a chisel, and a drill. This made it possible to drive out the link pin from the old barrel for use in the new one. (I discovered that press-fitting a link pin to the lugs never really gets any less hair-raising.) With the barrel thus assembled, I eagerly grabbed a go-gauge and dropped it into the chamber, where it completely failed to fit. Closer inspection of the chamber showed that it was even worse than the other barrel: heavily tapered and full of machining marks.
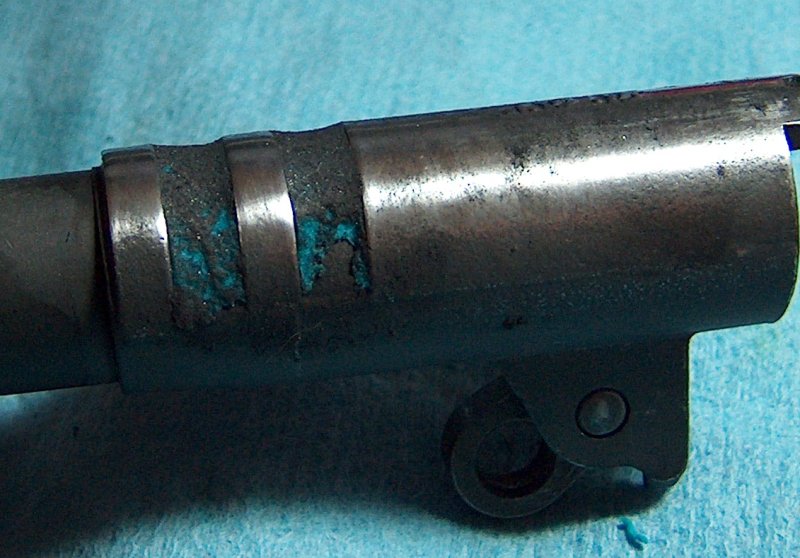
It looked like there was no escaping the need to have the chamber finish-reamed, so I found a local gunsmith and paid him $40 to do so. When I picked up my barrel, he pointed out that the chamber was formed incorrectly, leaving a shallow void on the left side. Although not dangerous, a chamber void near the front will cause cases to expand unevenly in the mouth area, possibly retarding rearward slide motion when dirty or old, soft cases are used. Later, I would realize that he'd also tried to do me a favor by grinding down the edge between the chamber and barrel ramp, but only succeeded in destroying the barrel's feed reliability.

Avoid.
Grimly determined to follow this particular comedy of errors through to the last scene, I gathered the materials necessary to measure vertical lug engagement.
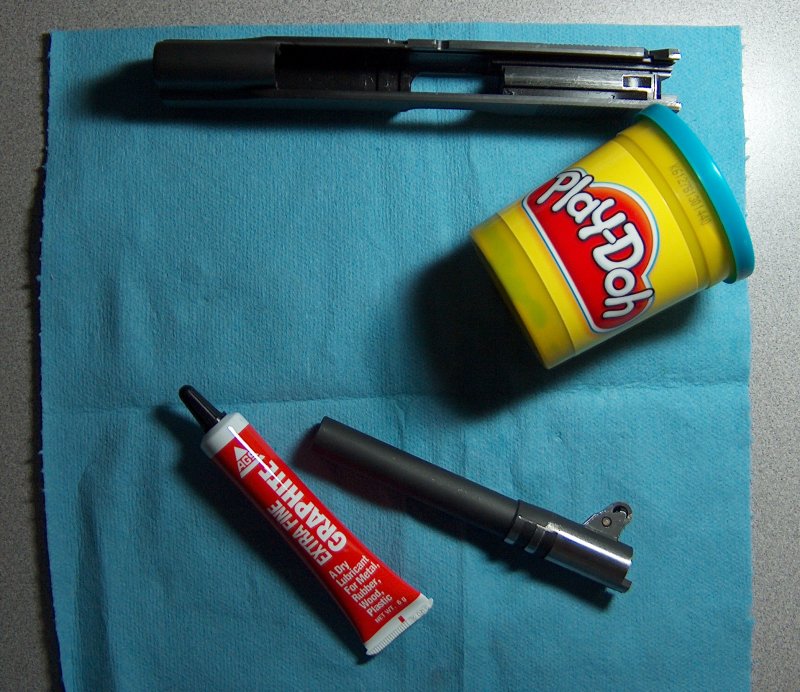
Precision gunsmithing equipment.
Although perhaps less necessary when fitting a barrel where one can control the exact amount of vertical engagement, it's usually a good idea to measure vertical lug engagement, especially for drop-in barrels. The lugs are responsible for holding nearly eight tons of pressure; if there's not a large enough area of metal available to hold the pressure, it'll exceed the tensile strength of steel and peening will occur. As the lugs peen, the headspace opens up. Once headspace gets large enough, enough of the case above the web will be exposed to permit bulging and eventual ruptures.
Browning's original design called for all three lugs to be engaged, with the first lug seeing almost complete engagement. (Due to the angle of the barrel necessary to clear the slide during recoil, equal engagement of all three lugs is not possible.) Through the WWII era, barrels were fitted as closely as possible by hand, then a proof round was used to pressure seat all three lugs. Modern hard steels don't permit this method of engagement, and most factory 1911s use drop-in barrels to keep prices down. As a result, almost all stock 1911s use only a single partially-engaged lug to hold the barrel in place. It's a testament to the strength of the design and the power of metallurgical advances that the gun is even capable of repeated use under these circumstances, but consider the possibilities: If you can get good engagement for all three lugs, the rifling will wear away before the gun shoots loose.
But I digress. This barrel sure as heck wasn't going to get full engagement on all three lugs, so I wanted to see what I had to work with. Step one involved filling the space between the lugs with Play-Doh, no modelling clay being available. Also, Play-Doh smells nice.
Just like Kindergarten, except I was only shooting 9mm then.
In order to prevent the Play-Doh from sticking to everything, I coated the lugs with graphite. It didn't help, but at least I got graphite all over the place.
25% less sticky, 200% more messy
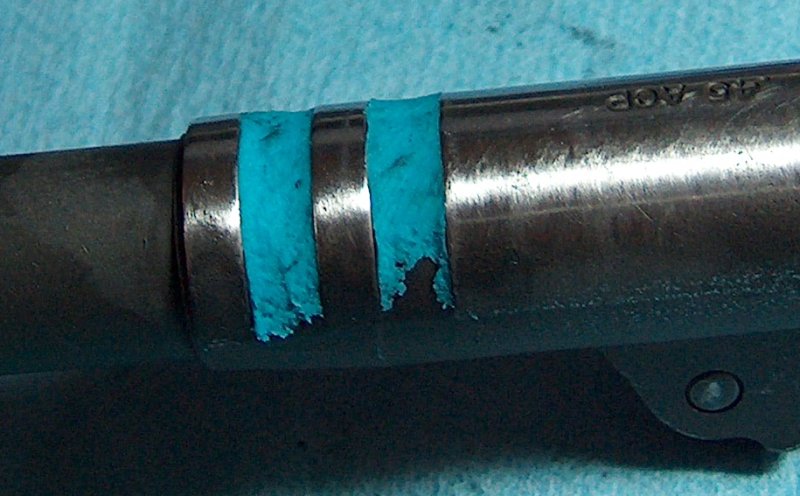
Fitting the barrel and bushing to the gun, I pressed the barrel into place, then carefully lifted it clear. As the photo below illustrates, one should use as little material as possible, since excess will be forced out and then catch on the upper lugs as the barrel is retracted, ripping out most of your hard work. The photo also shows the deeper engagement of the first lug.

The face of scientific measurement.
Using the depth measuring part of my micrometers, I was able to get a very rough estimate of how far below the lugs the Play-Doh had been compressed. The first lug was getting 0.038" engagement, and the second had about 0.035". Not great, but close enough for government work.
A more important measurement was the amount of headspace available. To determine that, I pulled the extractor, then placed the barrel in the slide along with the bushing and inserted a go-gauge. Pushing the barrel as far forward as it would go, I inserted feeler gauges between the barrel and breech face until I found the one that just barely fit: 0.010". Since the go-gauge is 0.898" long, that meant that the total headspace was 0.908". The allowable maximum is 0.920", so the barrel was a little on the high side where headspace was concerned, but nothing to worry about provided the case web had proper support.
Following the measurements, it was the work of mere hours to get all the Play-Doh out of the slide and barrel lugs. With the lugs measured and the gun cleaned, it was time to fire it for the first time.
email: hidi.projects at gmail.com