A Million Little Pieces
I've Been Framed
Guts and Glory
Pins and Needle Files
My Luggy Day
Searious Issues
Sliding Into Position
All Together Now
Spacing Out
Wear to Go from Here
Barreling Ahead
Breech of the Piece
Starting Out with a Bang
Round Two (hundred)
The Kart of Barrel Fitting
Fed Up
Safety is a Snap
Dispatches from the Front
Pulling Through
The Final Part
Lessons Learned
Frequently Asked Questions
Errata and Clarifications
More articles
Spacing Out
Now that I had the gun all assembled, it was time to go out and shoot it, right? Not exactly. An unstated goal of the entire project was to avoid having the gun I built experience spontaneous pyrotechnic disassembly (the technical term for this is "getting blown to smithereens") while I was holding it, so it behooved me to check headspace.
Headspace, for those unfamiliar with the term, is the maximum amount of longitudinal room permitted between the chamber shoulder and the breech face: the length of a hypothetical cartridge that fits perfectly between the chamber and the breech with its mouth at front of the chamber and its base pressed against the breech. Headspace that is too short won't close completely on a cartridge and the gun risks firing out of battery, which lets the cartridge back out of the chamber under pressure, exposing the weak area of the brass cartridge, which can then rupture under the pressure. Too much headspace is also a bad thing for pretty much the same reasons: The excess space lets the cartridge back out of the chamber to the point that the weaker brass walls of the cartridge are exposed. The only difference here is that this happens while the gun is in battery.
Measuring the upper and lower bounds of headspace is done with the use of go and no-go gauges, surprisingly expensive cylinders of metal shaped like bulletless cartridges. A gun with proper headspace should go into battery with a go gauge in the chamber, but fail to do so if a no-go gauge is substituted. A go gauge is 0.890" long, the minimum acceptable chamber length of an M1911, and a no-go gauge represents the maximum of 0.920". A gun should go into battery on a go gauge, but fail to do so with a no-go.
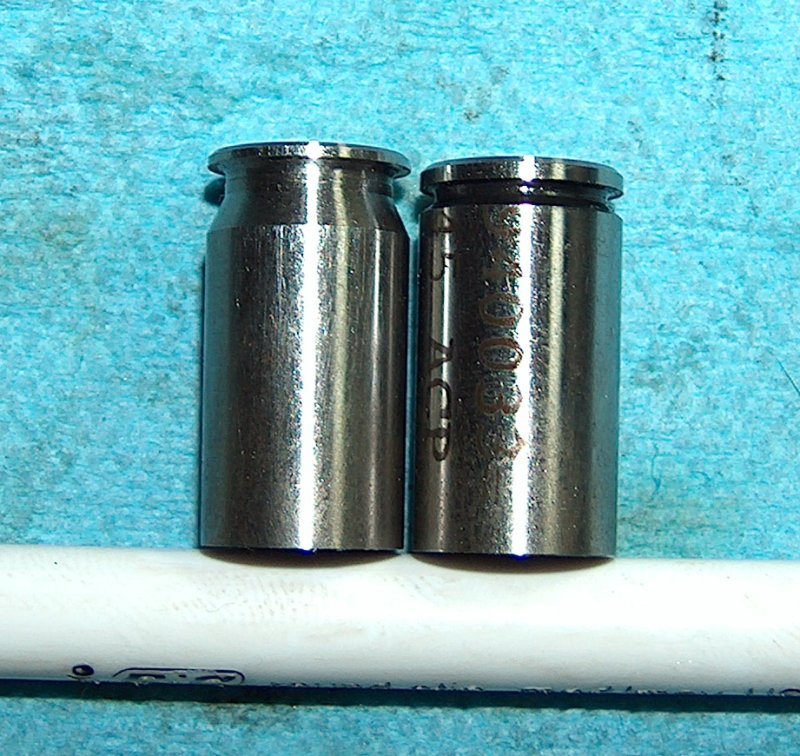
An engaugeing sight.
Above, you can see the difference between a no-go gauge on the left and a go gauge on the right. The actual difference in length is pretty minor when looked at side-by-side, and it's still minor even if you go by the numbers: Three hundredths of an inch is not a huge margin of error. It's as if the chamber is designed to contain tens of thousands of pounds of pressure or something.
But one thing the chamber is not designed to contain is a no-go gauge, so I removed the extractor, put the gauge in the chamber, and pushed the slide to.
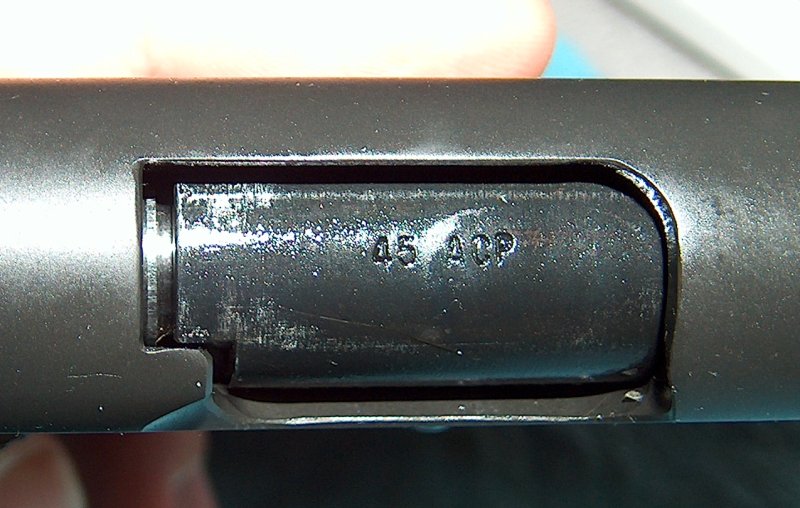
Don't go there.
The slide didn't close on the no-go. So far, so good.
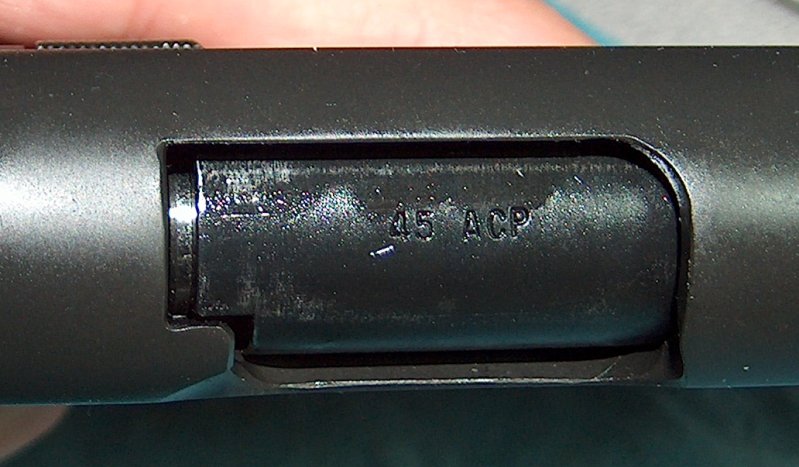
No closure.
Unfortunately, it was the same situation with the go gauge. In the interests of seeing what was going on, I pulled out the barrel and inspected the gauges in the chambers to see how far they protruded.
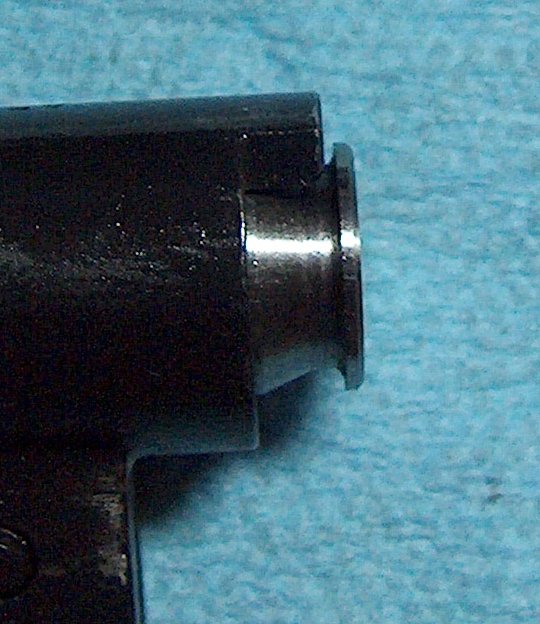
No-go gauge.
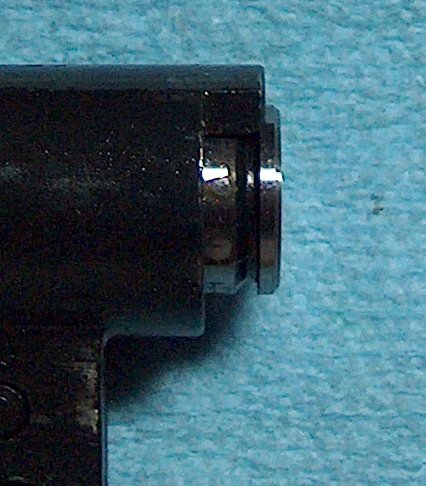
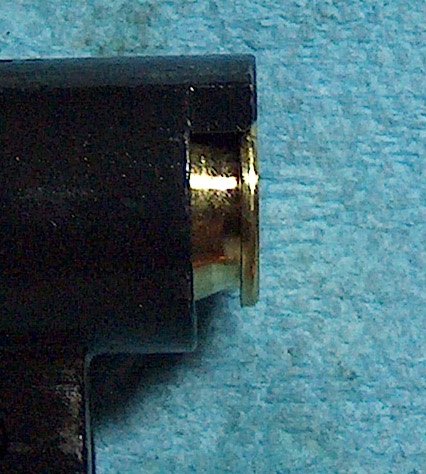
Go gauge.
The gauges protruded by a great deal. However, I ran across a clue while inserting them into the chamber for the above photographs: The gauges tended to take more effort to push as they went into the chamber, which meant the chamber was tapered. Furthermore, the chamber surface felt rough against the edges of the gauges. The barrel had an unfinished chamber, so it would need to be reamed out.
This put me in a difficult position: Getting a gunsmith to ream the chamber would cost almost as much as the barrel itself, which wasn't that great a barrel to start with. I decided to give up on this barrel and invest in another of higher quality, so I ordered an Auto-Ordnance barrel and link. (The previous sentence would turn out to be very ironic.)
Just for the shell of it.
In case you're wondering whether the gauges are really necessary, take a look at the photo above. On a whim, I grabbed a round of Winchester ball ammo and slid it into the chamber; it fitted perfectly because the case was crimped around the bullet, lending it a slight taper where the the gauges were perfect cylinders. Had I tried to fire the gun with this unaltered barrel, cases would have suffered sticky extraction or chambering issues at the very least.
With this barrel written off, I had Auto-Ordnance's charming four-to-six-week parts weight to endure until a replacement arrived. Fortunately, I had plenty to do...
email: hidi.projects at gmail.com