A Million Little Pieces
I've Been Framed
Guts and Glory
Pins and Needle Files
My Luggy Day
Searious Issues
Sliding Into Position
All Together Now
Spacing Out
Wear to Go from Here
Barreling Ahead
Breech of the Piece
Starting Out with a Bang
Round Two (hundred)
The Kart of Barrel Fitting
Fed Up
Safety is a Snap
Dispatches from the Front
Pulling Through
The Final Part
Lessons Learned
Frequently Asked Questions
Errata and Clarifications
More articles
Pins and Needle Files
In the previous chapter I was having trouble getting the mainspring housing pin to fit in and couldn't figure out if this was normal or not. Consultation with the sages who hang out on the M1911.org gunsmithing forum revealed that I was probably being a weenie and not applying enough force.
Okay. I can provide more force.
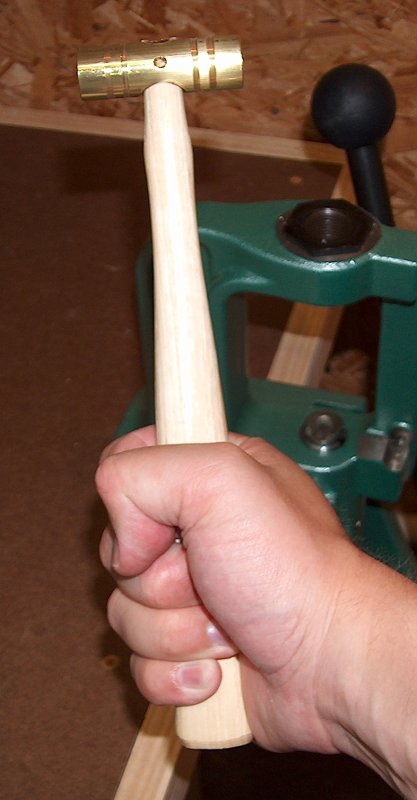
More force.
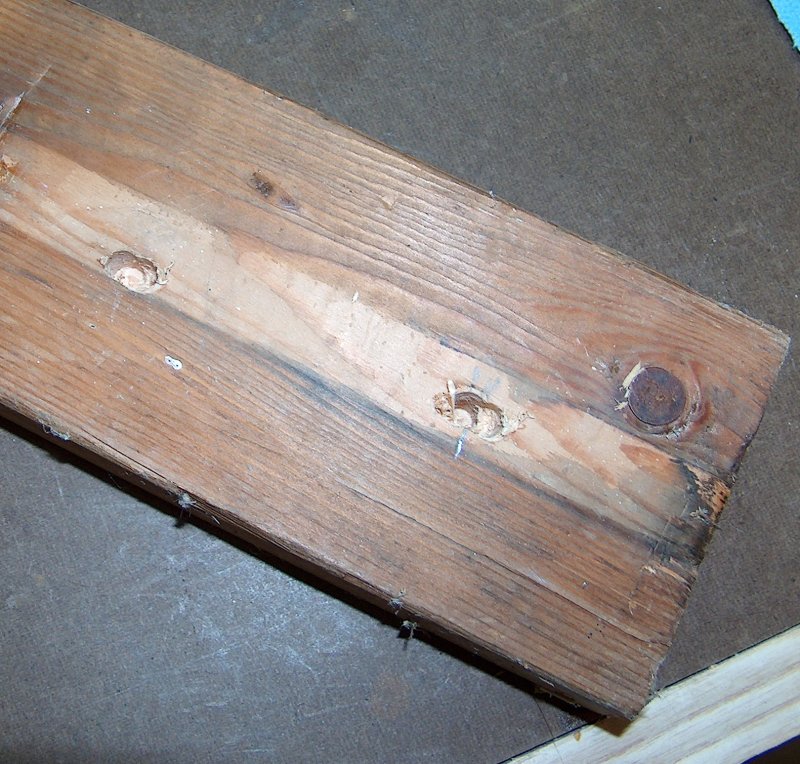
While I enjoy few things more than using a hammer to solve problems, it's possible to warp the frame if the mainspring housing pin is injudiciously driven in. To work around that problem, I grabbed a length of scrap 2x4 and drilled holes in the approximate locations of the grip bushings. It took a couple tries to get it right.
I got board with building a gun.
In order to prevent splinters and sawdust from getting into the gun, a shop towel was added. The final result isn't pretty, but it works.
Ad hoc block.
With the frame properly supported, it was the matter of a few minutes' work with a hammer and brass punch to insert the mainspring housing retaining pin. Remember how I mentioned last chapter that the grip safety has to be in place before inserting the mainspring housing? Remember how I also mentioned that it took me a couple times to figure this out? Yeah.
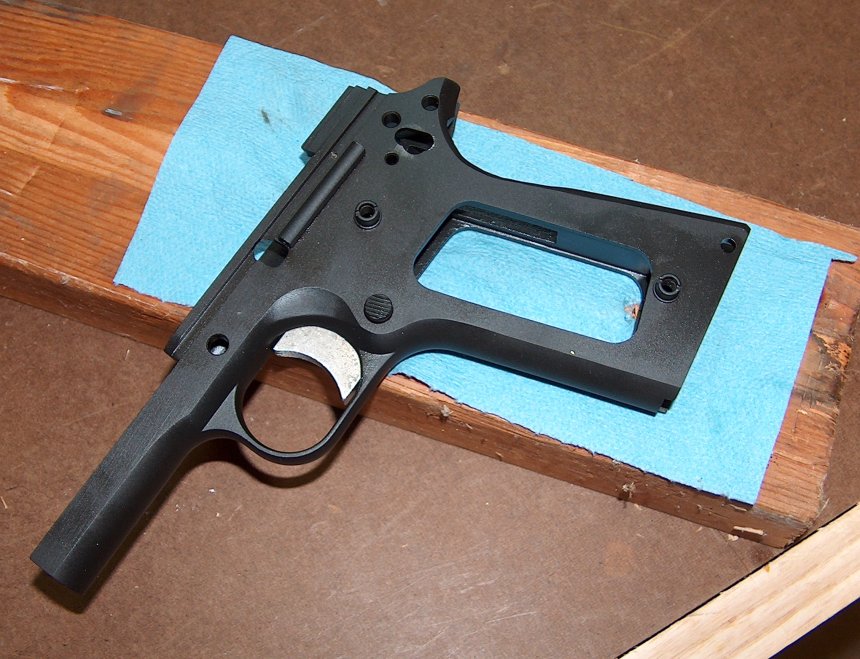
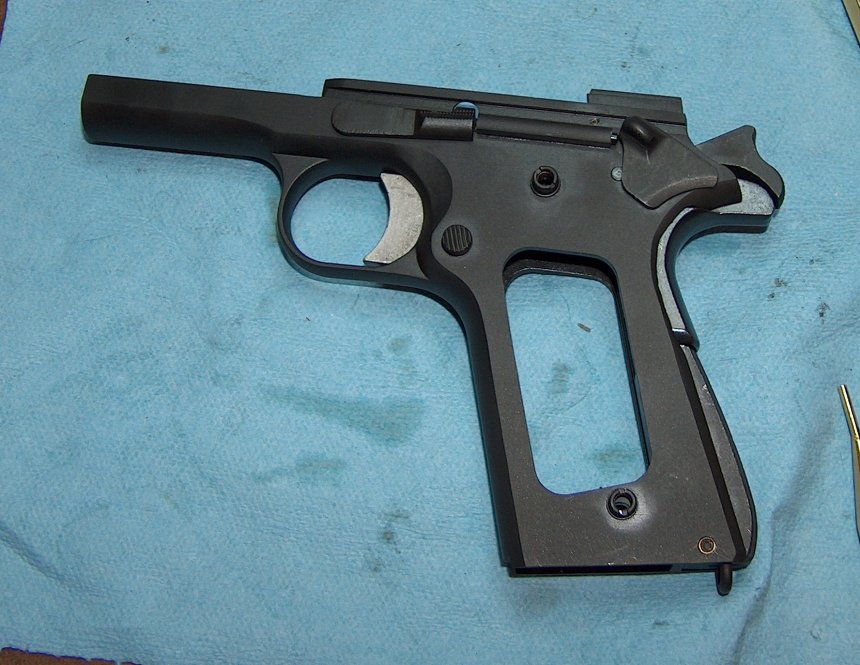
While driving out the mainspring housing pin in order to install the grip safety, I discovered that one more hole was required in the board so that the pin could have somewhere to go when being driven out. I drilled a small-diameter hole partway through the 2x4, drove out the pin, then promptly spent the next five minutes swearing and trying to get the tiny pin out of the tiny hole. (Note tweezers in next picture.) The hole was redrilled with a larger diameter, and this time going all the way through the board. Ultimately, this would allow the pin to be driven out, fall on the floor, and require five minutes of scrounging in the dirt, dead bugs, and decapped primers to find, but that's more user error than design flaw. For the time being, the frame was completely assembled, and I rejoiced by taking a photo of my work, which had nothing left out and no part of the frame forgotten.
Spot the missing parts.
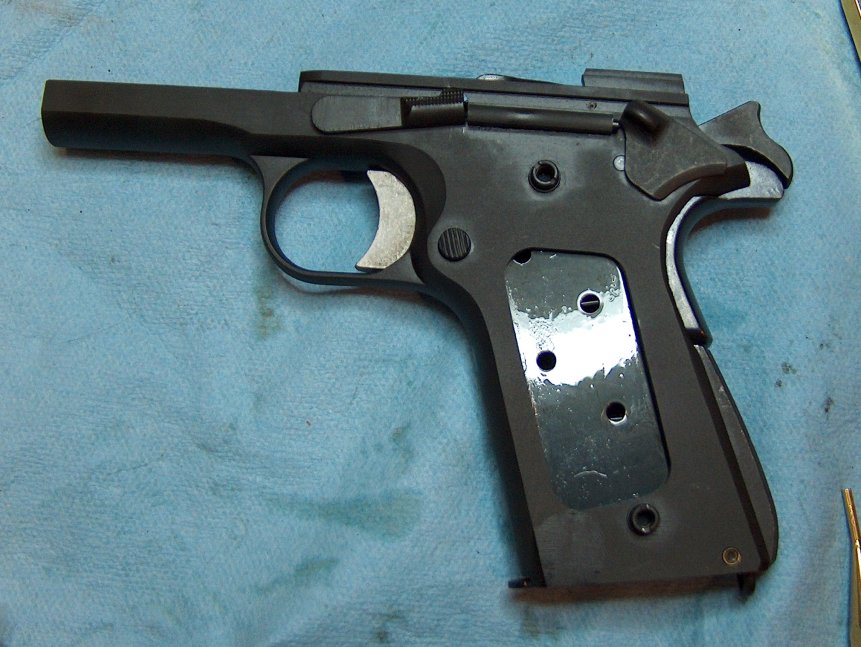
Yep, I forgot the plungers and spring. I discovered this when I went to insert the slidelock. Let's try that again.
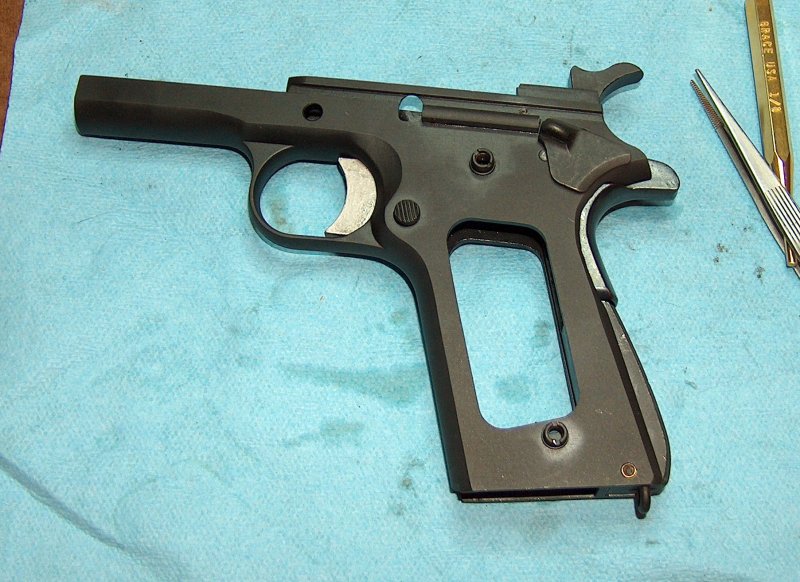
Much better.
Now that the plunger tube was assembled, the manual safety did its thing, although it felt a little light. That could be fixed later; for now, I was just glad it worked without additional fitting. Having all the parts assembled in the frame meant that it was now possible to test the magazine release and slide lock behavior. This worked well: The magazine release locked and released the magazine, and an empty mag pushed up the slide lock with its follower. Hitting the magazine release caused the mag to eject like greased lightning, which was only appropriate, as the mag was greasy.
A MAGnum opus.
Sarco still hadn't gotten my replacement slide back to me, so I could procrastinate no further: It was time to dress the casting marks on the barrel's lower lugs and fit the link pin.
email: hidi.projects at gmail.com