A Million Little Pieces
I've Been Framed
Guts and Glory
Pins and Needle Files
My Luggy Day
Searious Issues
Sliding Into Position
All Together Now
Spacing Out
Wear to Go from Here
Barreling Ahead
Breech of the Piece
Starting Out with a Bang
Round Two (hundred)
The Kart of Barrel Fitting
Fed Up
Safety is a Snap
Dispatches from the Front
Pulling Through
The Final Part
Lessons Learned
Frequently Asked Questions
Errata and Clarifications
More articles
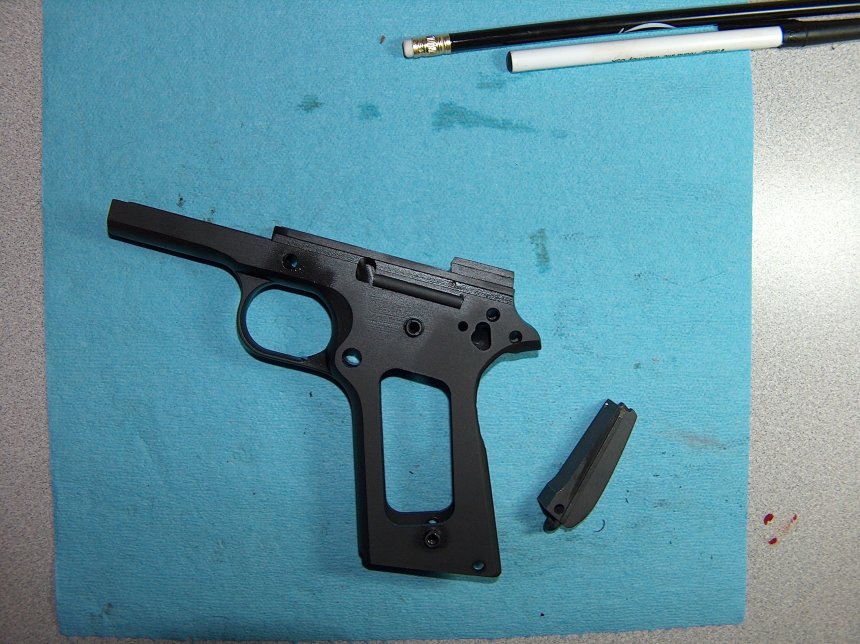
I've Been Framed
Before I got a repaired slide back from Sarco, my frame arrived. I had it shipped to Survival Arms in Bellevue for transfer because they have the best local transfer fees, friendly staff, and they're located next to a school for Krav Maga, the Israeli martial art; there's nothing like the sound of people beating the crap out of each other to lend delightful subtext to the purchase of firearms. The frame itself looked good and I wasted no time putting it on a shop towel and testing all the larger, external parts for fit.
We all have to start somewhere.
Note the bloodstain on the right in the above photograph; this was produced when attempting to fit the mainspring housing (also in the above photograph) to the frame. There was a small burr on the left side of the housing that bound in the frame, causing it to get stuck. I brilliantly applied the always-appropriate principle of exerting large amounts of force with my bare hands. This worked, of course, but at the cost of suddenly whipping my finger across the sharp groove in which the housing sits when the housing released. Once again it is proven: Guns hurt people.
After hurridly cleaning blood off the frame to prevent rust, I bandaged my finger and fitted the mainspring housing. Even after filing down the burr, the housing would still get stuck. (This time I wisely used a pencil to tap it out.) The solution turned out to be filing down the sides of the housing until it went in without too much coaxing. It's worth noting that filing to fit is not a linear progression: The closer you get to a fit, the less that should be taken off between test fits. I cold-blued the exposed metal on the mainspring housing and moved on to testing the other parts' fit.
The trigger fit into the frame, although it took some coaxing and oil at first. No such problems with the grip safety, which fit perfectly. The thumb safety also fit well, although it didn't have the full range of motion up and down. I assumed at the time it needed the internals added in order to move properly; as it turned out, the safety just needed to be fitted. Finally, the slide release dropped right into place, providing no hint of the monkeying around that would be required to make it work properly.
Before I called it a night, I tried to put the brown plastic GI surplus grips onto the frame. No dice. While the left side fit fine, the right side refused to go on because the bushing holes were too far apart. The plastic grips from a Springfield Armory Mil-Spec dropped right into place, so the right grip panel itself was to blame. I rendered it blameless with a needle file and two minutes' worth of work elongating the bottom of the lower bushing hole. Just this small amount of work with the grip panels left my hands greasy with ancient cosmolene, so I took a brush and some mineral spirits to the grips. The mineral spirits took both cosmolene and paint off the grips, as well as residual gunk off the brush: Everybody won. While the grips themselves have clearly seen some use, they don't look too bad on the gun and have a great deal of character.
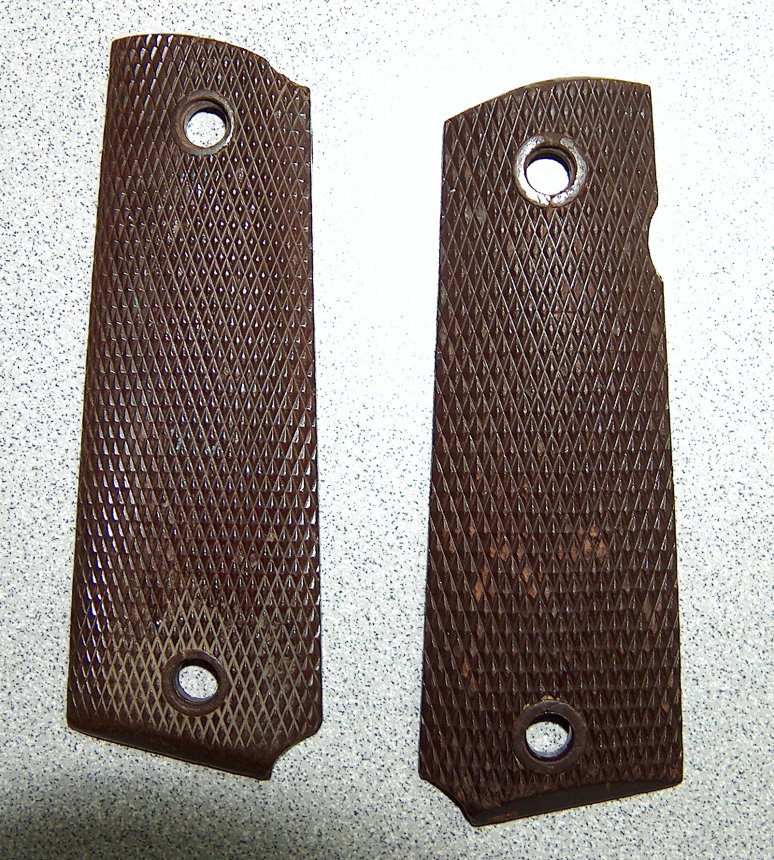
Get a grip.
With the grips fitted, all the frame externals were more or less complete. The next logical step would be to fit the frame internals, which I expected to be far more challenging.
email: hidi.projects at gmail.com