A Million Little Pieces
I've Been Framed
Guts and Glory
Pins and Needle Files
My Luggy Day
Searious Issues
Sliding Into Position
All Together Now
Spacing Out
Wear to Go from Here
Barreling Ahead
Breech of the Piece
Starting Out with a Bang
Round Two (hundred)
The Kart of Barrel Fitting
Fed Up
Safety is a Snap
Dispatches from the Front
Pulling Through
The Final Part
Lessons Learned
Frequently Asked Questions
Errata and Clarifications
More articles
Dispatches from the Front
This 1911 just generally got it backwards when it came to the question of what went forward and what went back: Its feeding issues showed a reluctance to move rounds forward to the chamber, a reluctance that was not at all missing during extraction, when it enthusiastically tossed casings forward. The feeding issue had been largely resolved, which left the forward extraction issue requiring attention. Now I'm given to understand that schucking cases forward is expected behavior for some assault rifles, but it's in no way desireable for 1911s. Even though the extraction issue had never caused a jam, I like my casings tossed neatly behind me where they can be collected at leisure instead of being forced to frantically grovel for them forward of the firing line during a cease-fire.
I had already eliminated some possibilities for what could be causing the problem, but I was still stymied. What finally broke the confusion was a chance glance at the breech face during a range trip: There was a streak of brass on the left shoulder of the breech face where I'd widened it. Some hand cycling revealed that I hadn't widened it quite enough, and some residual filing marks were grabbing the left rim of the round during extraction. I cleaned up the remaining filing marks and, while I was at it, widened the breech face a bit more, to 0.490". This is really on the wide side for the breech face (the usual max is 0.488"), although I've been told some gunsmiths will take it this wide. Seeing as how I was actually getting friction from the case rim, I felt the extra width was justified.
Okay, maybe not that justified. Filing the breech face wider improved the forward extraction slightly, but didn't come anywhere close to curing it. The best theory I could come up with was a dimensional conflict in the slide or frame: Maybe the slide couldn't come back far enough, or the frame was built such that the ejecter was placed too far back. If this was the case, fitting an extended ejecter might clear things up. I'd had very good results from my Mil-Spec's extended ejecter, so maybe that would do the trick here.
I don't usually like to flail around in the dark like this, but with no other leads, changing the ejecter would at least let me check one option off the list. Also, removing and replacing the ejecter was one of those things I'd hoped not to have to do. I wanted to fix the issue more than I wanted to avoid installing a new ejecter, though, so I ordered a Springfield Armory extended ejecter and got to work.
In theory, the process would be relatively simple; Kuhnhausen pretty much lays it out step by step in his first 1911 manual. In practice: haha.
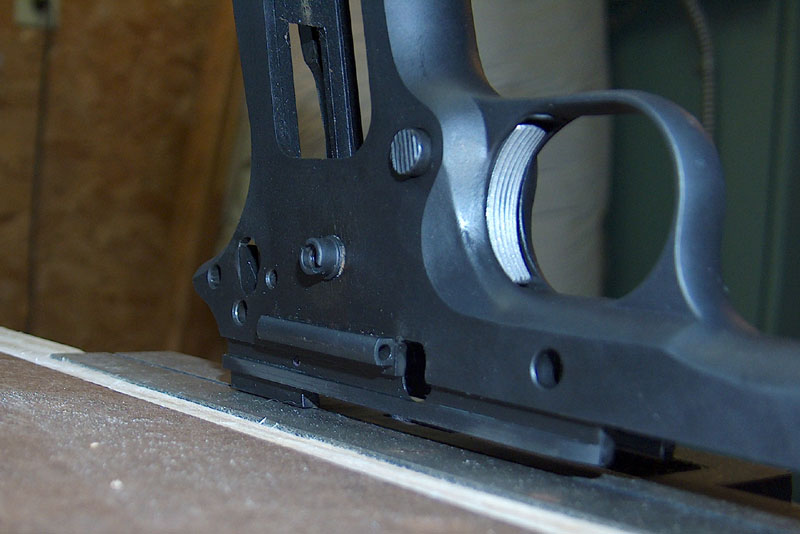
First up was removing the roll pin holding the ejecter in place. This was relatively trivial to do with a roll pin punch, although it should be noted that driving out the ejecter pin works much better if you don't have a solid surface behind its exit point.
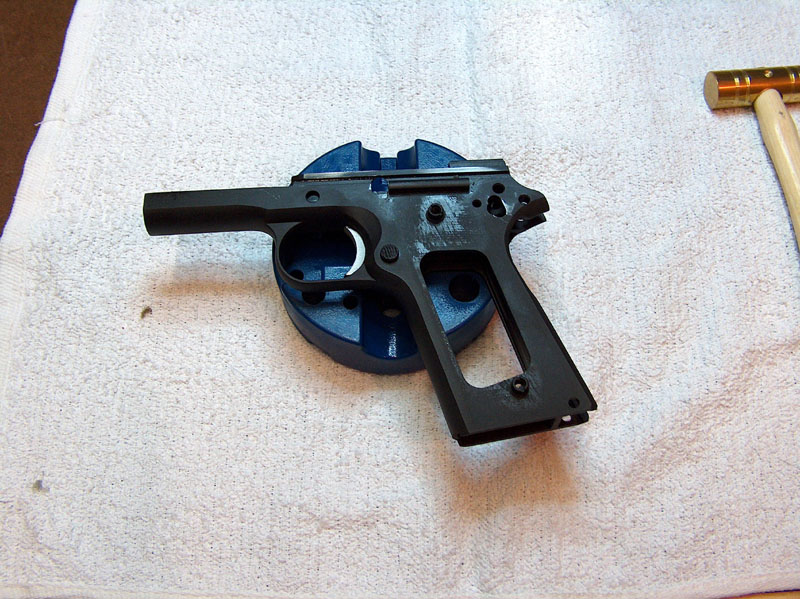
It looked easy at this point.
With the roll pin removed, the only thing holding the ejecter in place was a little bit of friction and I was able to quickly pluck the ejecter from the slide.
Just kidding! That ejecter felt like it was welded in place. I tried budging it with vice grips, to no avail other than mutilating the ejecter's surface and putting a small ding in one of the rails. Finally, I used Kuhnhausen's recommended ejecter removal method:
The best advice for removing an extractor.
I ended up reopening the jaws and moving the gun down so that the vice could close on the thicker part of the ejecter body. I had to seriously crank the vice closed in order to keep the ejecter from simply wiggling out of the jaws when force was applied to the frame. Even then, it took an enormous amount of effort to pull the ejecter loose. Fortunately, good ultimately triumphed over evil. I left the old ejecter sitting beside the new while I applied bandages to the injuries inflicted during its removal.
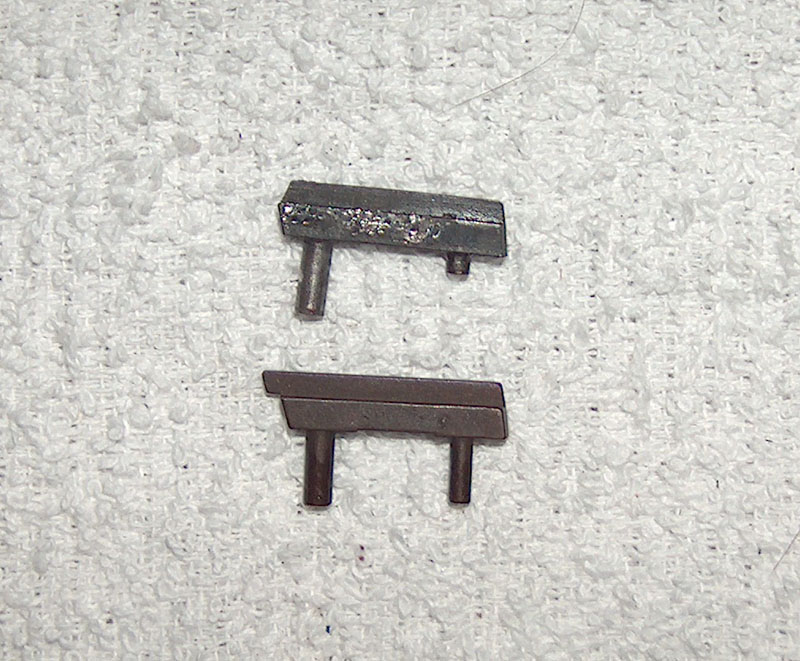
Long rear post on the new ejecter.
Tentatively inserting the new ejecter into the frame's post holes (I didn't want it to get sucked in and retained by whatever malevolent force kept the first one in place) showed that the new ejecter's rear leg was too long. A few minutes' work with a Dremel's cut-off wheel fixed that.
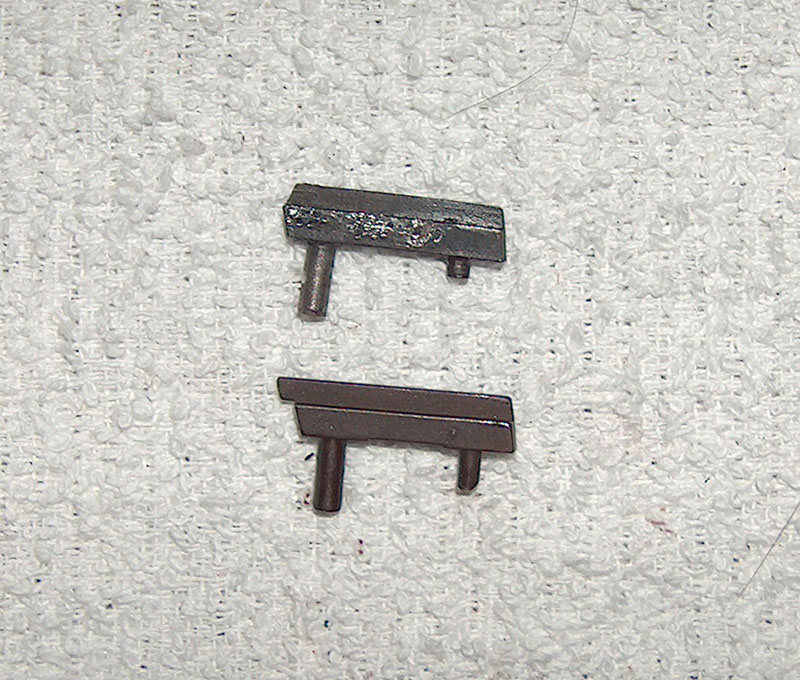
Less of a leg to stand on.
The slightly coppery color of the ejecter under the parkerization suggested it had been heat-treated, so I was concerned about ruining the temper by heating up the part too much during cutting. To prevent this eventuality, I made sure to touch the ejecter while I trimmed its legs: The metal would get too hot to touch before the heat treatment was degraded. I finished the work on the leg by smoothing the cut-off base with a mill file and putting a mild bevel on the post's edge to prevent burrs from catching or forming in the channel.
If you look closely in the above photos, you'll notice that the old ejecter has a small cutout in its front leg to clear the ejecter pin, whereas the new ejecter does not. Kuhnhausen recommends inserting the new ejecter and then using a punch pushed through the ejecter pin hole to mark the leg where the ejecter pin will go. This works pretty well. What didn't work as well was using a round file to add the cutout; the radius of the file was just too large. Fortunately, I noticed this before I cut too deep and finished by using the edge of the cutoff wheel to slowly nibble away material, checking the hole alignment frequently, until 90% of the hole was clear. I left a little bit of material interfering so that the tension of the pin forced into place would hold the ejecter firmly.
Tapping the pin in was uneventful, and I was left with this:
A most fitting conclusion.
The ejecter sat rock-solide in the frame and cleared the slide perfectly. But did it do what it was supposed to? Only a trip to the range would reveal the truth.
A trip to the range did indeed reveal the truth. The new ejecter fixed 95% of the forward-ejection, but even more importantly showed the root cause of the problem. During the test firing, I'd shoot a mag of ammo, find where the ejected shells landed, gather them up, and then repeat. Several magazines in a row showed casings landing in the exact same scattered locations. I actually thought to myself, "hmmm, the brass is going all over the place, but the specific locations it's landing are regular as clockwork." At that instant, a tiny lightbulb flickered fitfully to life above my head. Clockwork: The extractor was clocking in its channel, rotating under recoil during the feeding cycle. This was the cause of the erratic ejection, and probably what was responsible for the forward ejection. The extractor hook was the right depth if properly lined up, but when tilted at an angle, the hook depth would be short enough to make it fail to remove the case from the gun with sufficient vigor.
The ideal solution would be to acquire an overside firing pin stop that would hold the extractor steady; perhaps even a new extractor was in order. Even though the extended ejecter wasn't strictly necessary, it had helped me track the problem down. More importantly, it reduced the frequency of forward ejection to the point that I feel comfortable closing this chapter here, and leaving any notes about fitting a firing pin stop for an addendum to the article.
email: hidi.projects at gmail.com